Some things I've been working on this year. A modular parking garage and I was rebuilding an old friend.


Metallic Muse
Making Of / 27 February 2025
I've been working on an entry for the Sexy Robot Contest over at Renderhub. This is my work in progress so far;
Sketch

Here are some reference images and designs I collected.


Retopoflow is a perfect tool for creating the plate parts.


More progress for the sexy robot challenge from @renderhub3d Almost done with the modeling. I hid the left hand ;). After the modeling is done it is time for UV unwrap and textures. This is a proof of concept with a rigging test.


Some more work on the shoes and I broke the symmetry a bit.
Beneath the final setup in Blender.

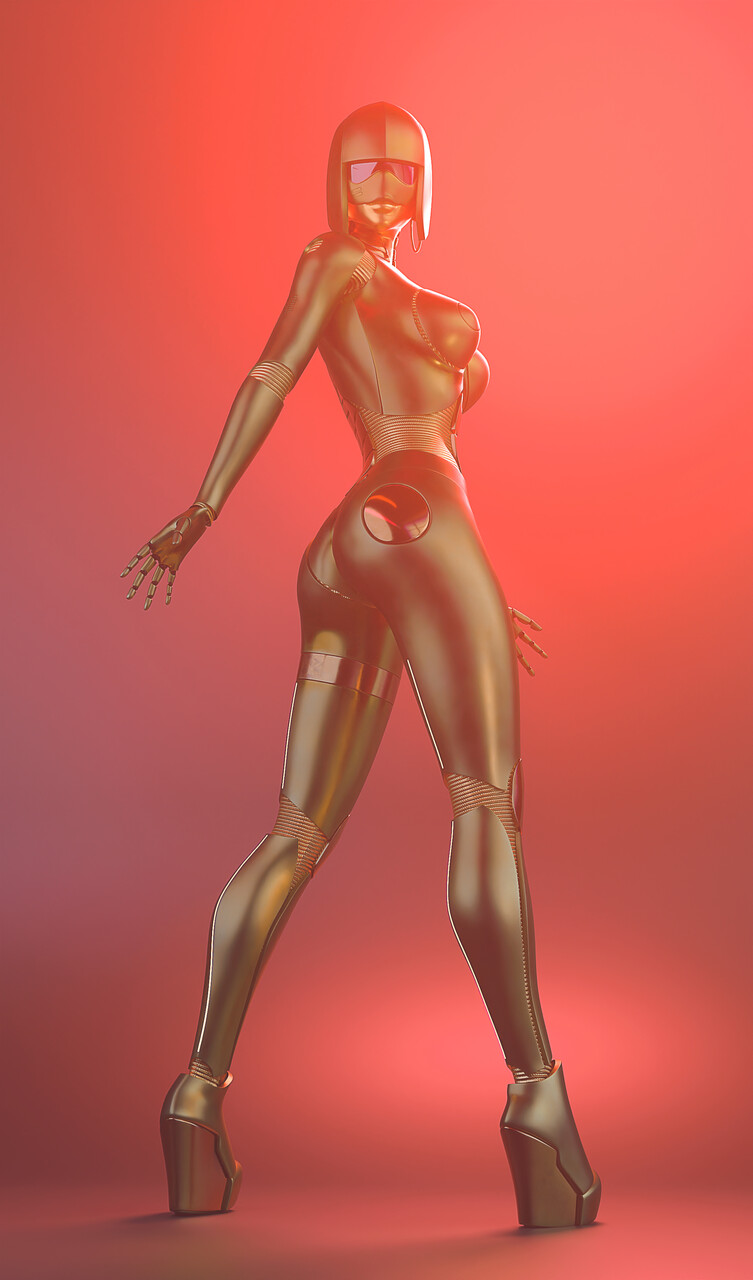
This is my final render. I aimed for a retro aesthetic as a tribute to Sorayama, and I'm really pleased with how it turned out.


2024 Reallusion 3D Character Contest - Roller Derby Girl
Making Of / 17 July 2024
I was searching for inspiration for a submission to the 2024 reallusion 3D character contest when I stumbled upon a free model of roller skates from Adobe. This sparked an idea.
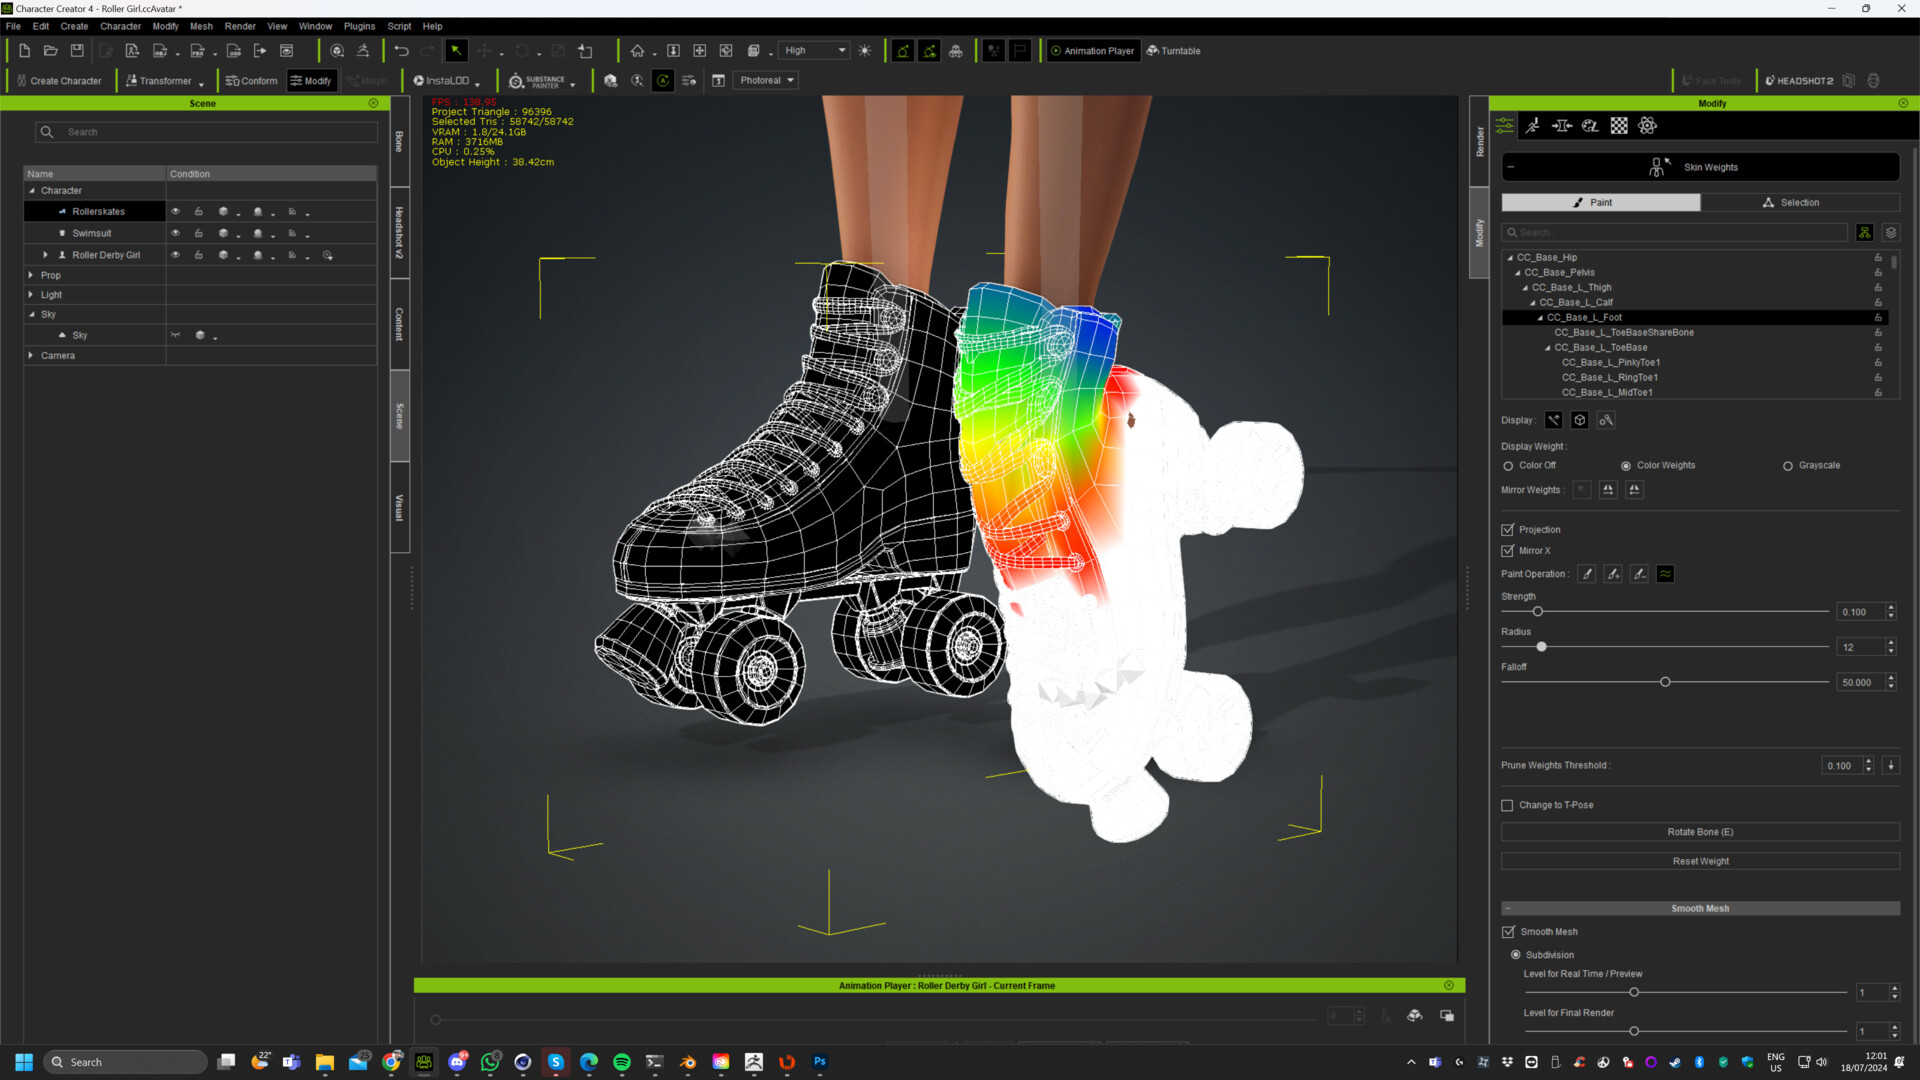
I've always wanted to create a Roller Derby character because there's so much creative freedom with this concept. Since the model comes from the Substance library, it has excellent UV mapping. However, after cleaning up the model for use in Character Creator, I realized that its 96K polygon count was a nightmare for weight painting and far from ideal for animation.

While weight painting, I noticed that the model was fully detailed on the inside, which is insane. I had no choice but to rebuild it to make it far more usable. At least now I have a great starting point for a lighter model, and it's nice to get back into some hard surface modeling again.
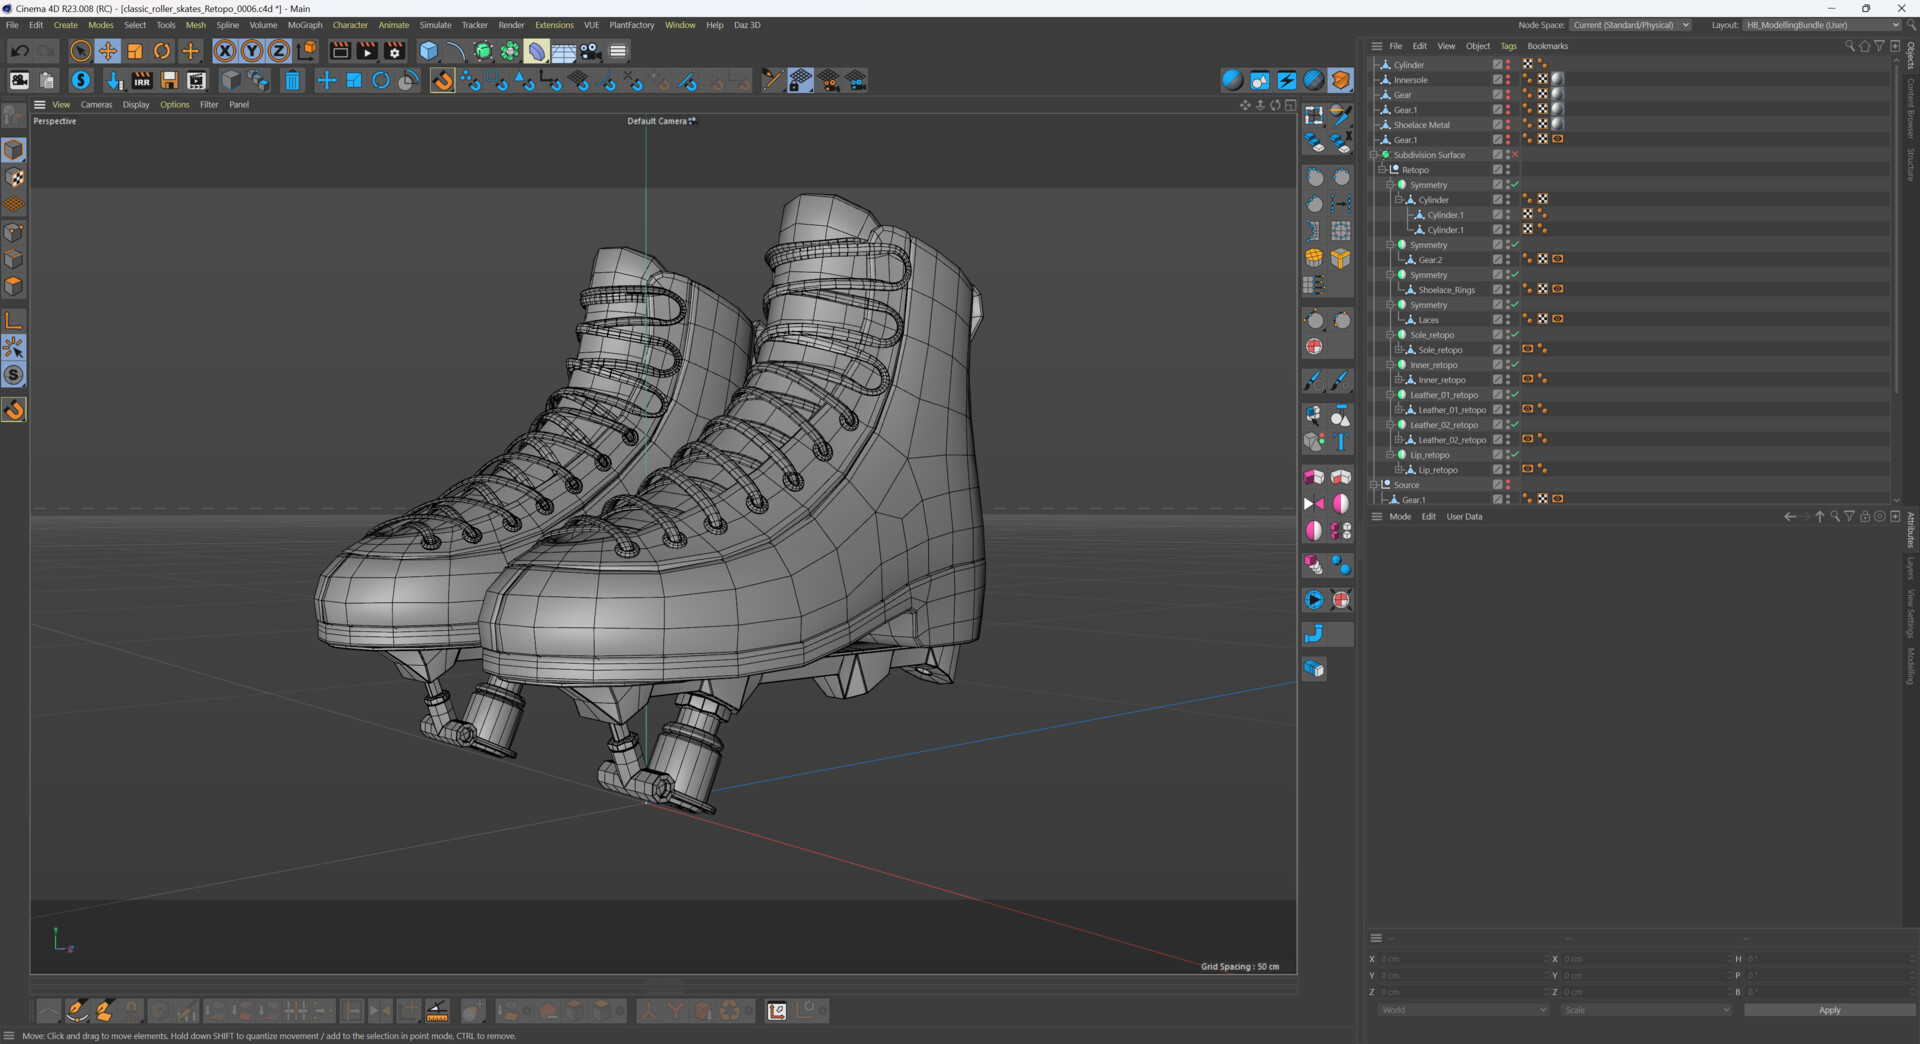
I really want to switch entirely to Blender, but my muscle memory from using C4D is still holding me back...

I reduced the polygon count from 96k to 32k, making it much more manageable. To retain detail, I modeled it to be subdivided. Next, I need to unwrap the model, and then I can finally get creative. For additional inspiration, I created a Pinterest board to better guide my creative process.

Alright, UV unwrapping isn't the most fun part of 3D modeling, but thanks to RizomUV, it's manageable. Here's the result:

With this new model, the weight painting process went much more smoothly.
I'm starting to bring some parts together, but there's still a lot to do. It's still very much an early work in progress.

- Straps for the helmet, with plans to enhance it with a Roman plume or similar decoration
- Kneepads, hand protection, and elbow protection.
- A top and shorts.
- Tattoos and wounds from the Jam.
I reviewed the helmet model and wasn't satisfied with the overall design. The way I had modeled it was prone to shading artifacts.


As you can see, the mesh lacks enough support edges to hold the shape properly. The only option was to start over.
Now, the helmet retains its shape and looks much better.


 I wanted the straps to stay unfastened to emphasize the character's carelessness. I also wanted the straps to "flap" around as shown in this clip.
 Unfortunatly I need to spend more time perfecting this effect. Like stated earlier in the thread the shading and colors are still in rough concept phase.
I've made some progress on the texturing, which was a welcome change from modeling. I've also altered the body shape to be more masculine. This is what's so awesome about Character Creator—you can make changes on the fly without breaking the entire rig. I really think it's starting to convey the concept.


Another design pass on the skates. Maybe they are still too sweet...


I've made the breast a bit smaller to fit better with the overal character.

In Substance Painter I tried to create some band aids for the character but I felt so limited by either my knowledge or the possibilities. After a while I decided to create a band aid shader in Substance Designer and utilize those instead. It's a simple setup and I have to restrain myself from going overboard with sliders and tweakable parameters.


The result was way better.
I did another pass on the textures and fixed the teeth up.
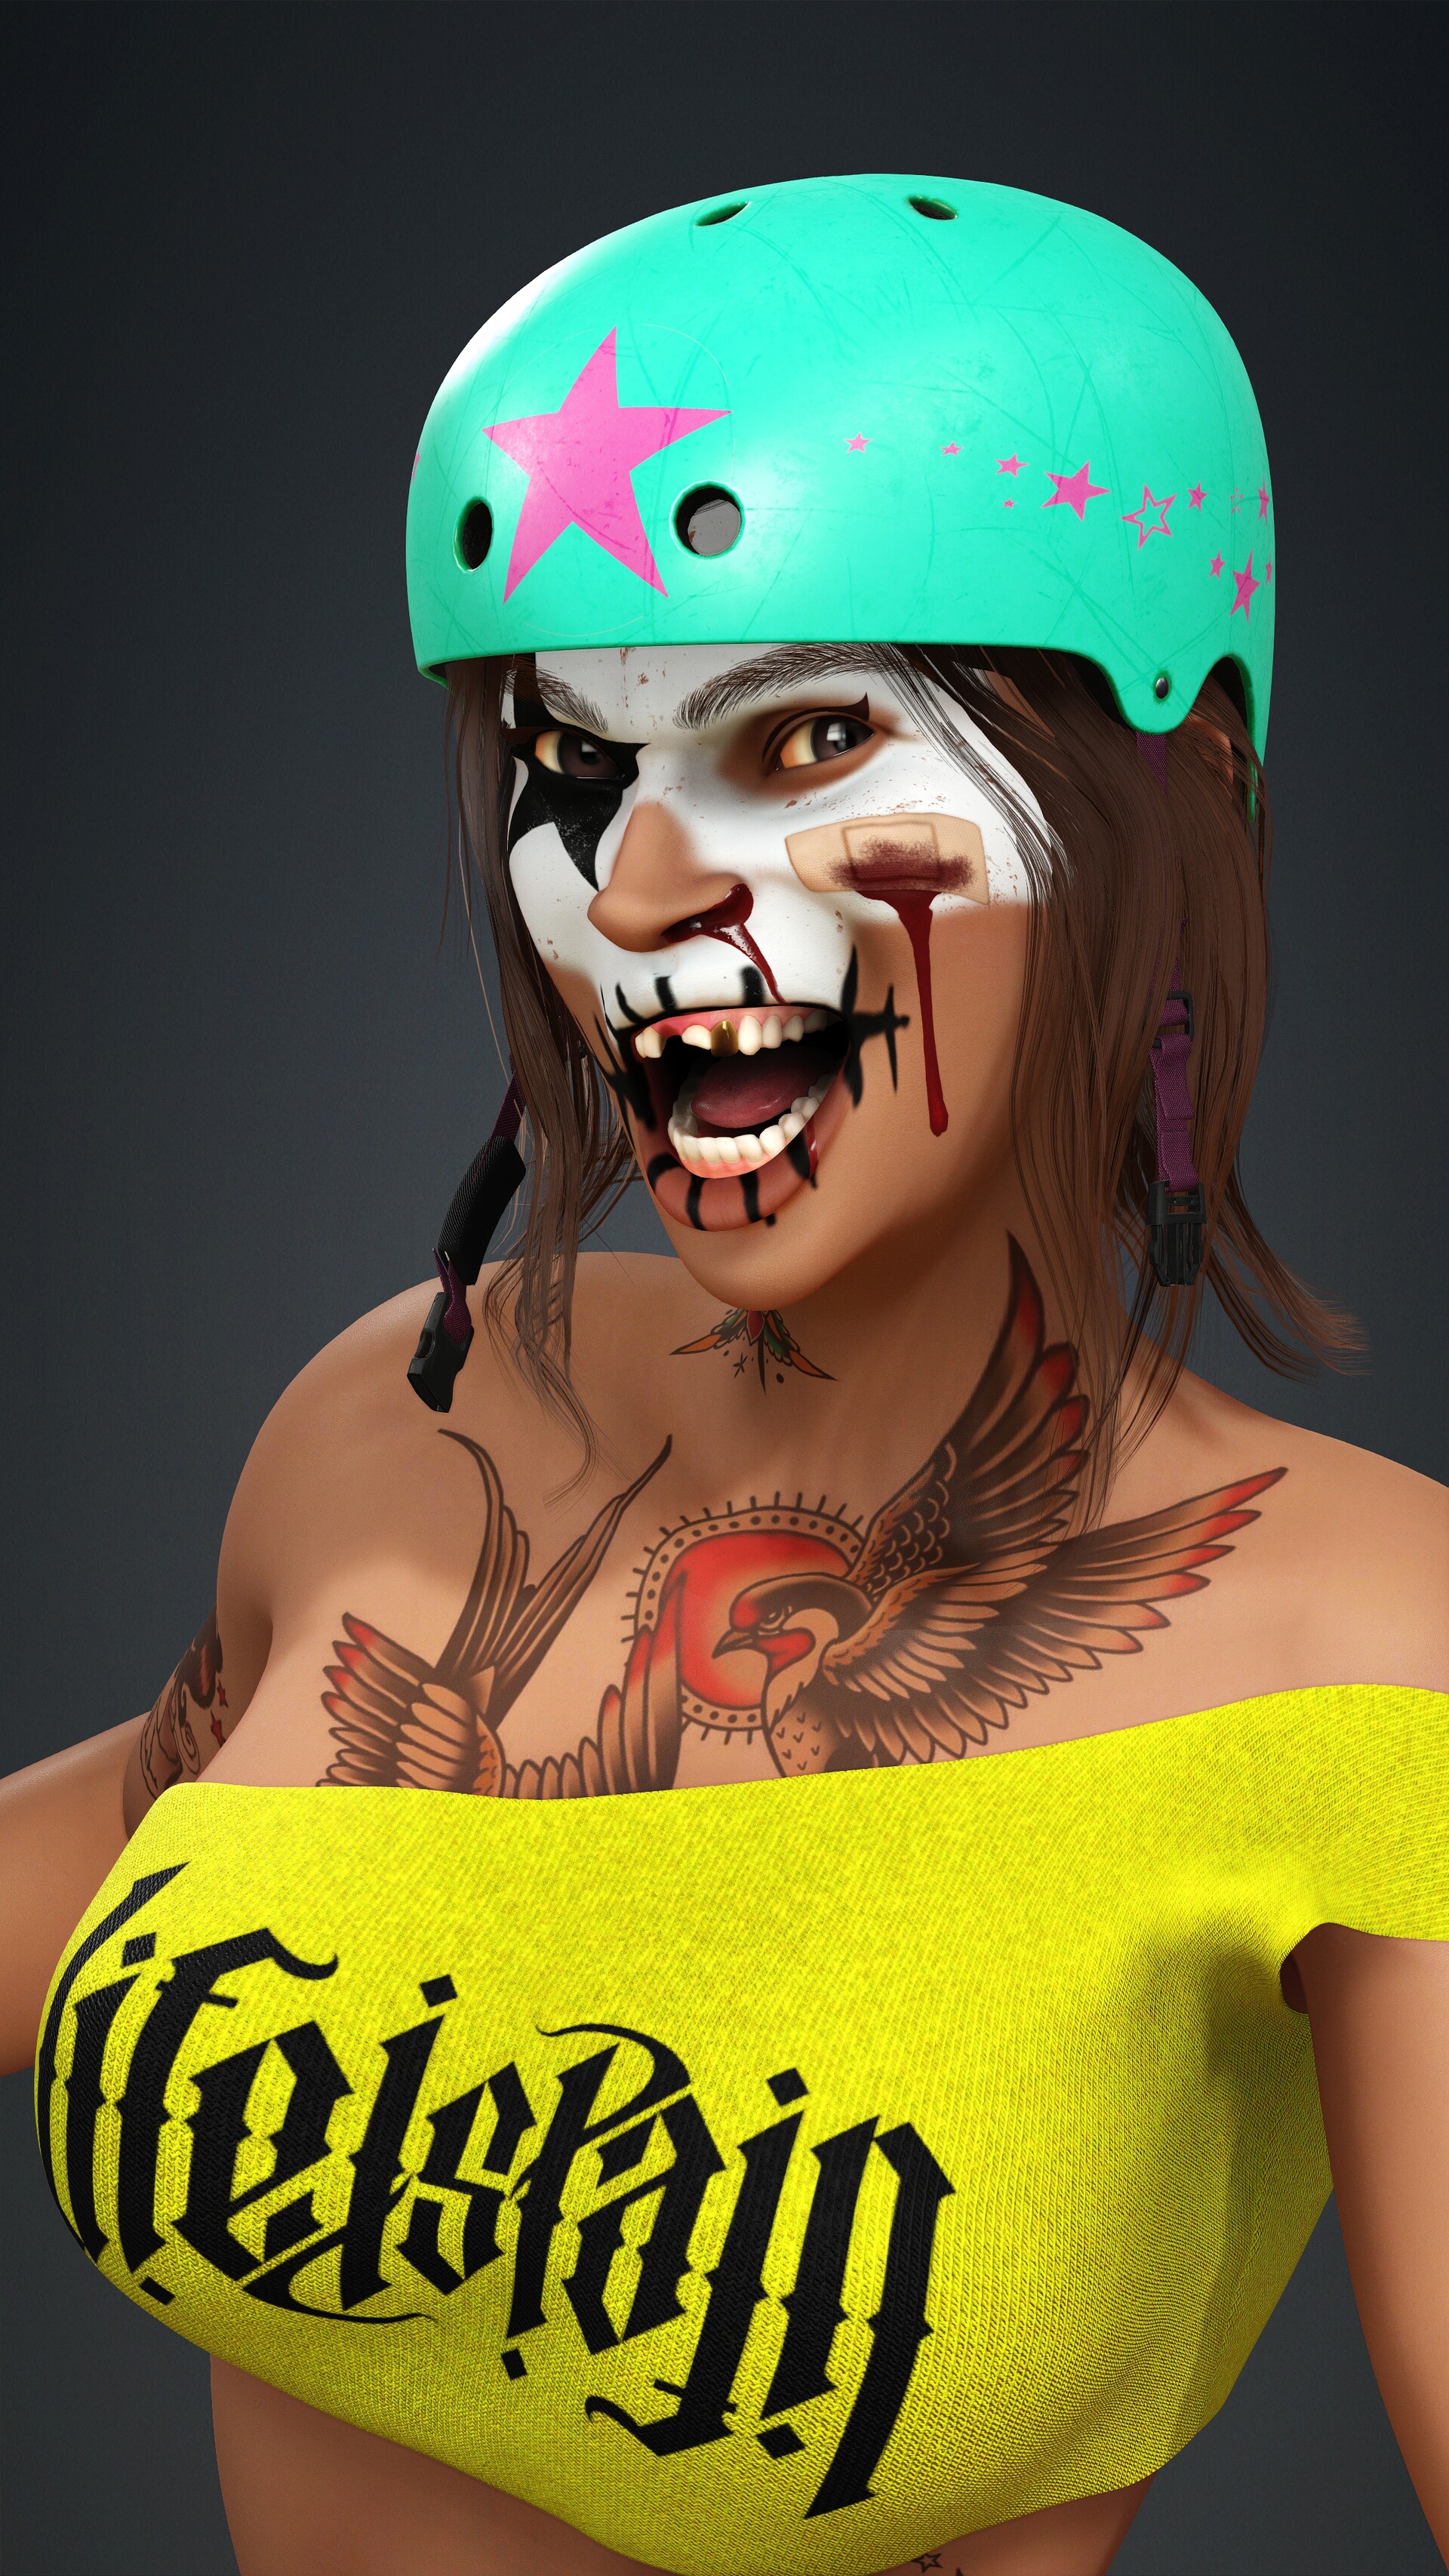

I am aware that the process is quite technical and yields the expected results. However, as I mentioned earlier, I wanted to take a more extreme approach. I had the idea of giving the character a Roman helmet mohawk. This sparked further inspiration for the character, leading me to steer in a Mad Max direction, which feels like the right path to take.


I created the wrist protection part and worked on the details of the pants. After much postponement, I have finally started working on the kneepads, although they are still in the early stages.


The knee pad model is done and textured.

After finishing up all the assets and parts I could start the animation process. Since it is animation I will share the last part as a video. Enjoy
Edward T. Head
Work In Progress / 01 November 2023
I always wanted to recreate one of my favorite album covers from my youth as a 3D animated scene and Halloween was upon us so I jumped in. Also I wanted to check what I could do with the new Facetools pipeline from Character Creator 4. This is the progress so far; (Iron Maiden, Life After Death, 1985, Cover art by; Derek Riggs)
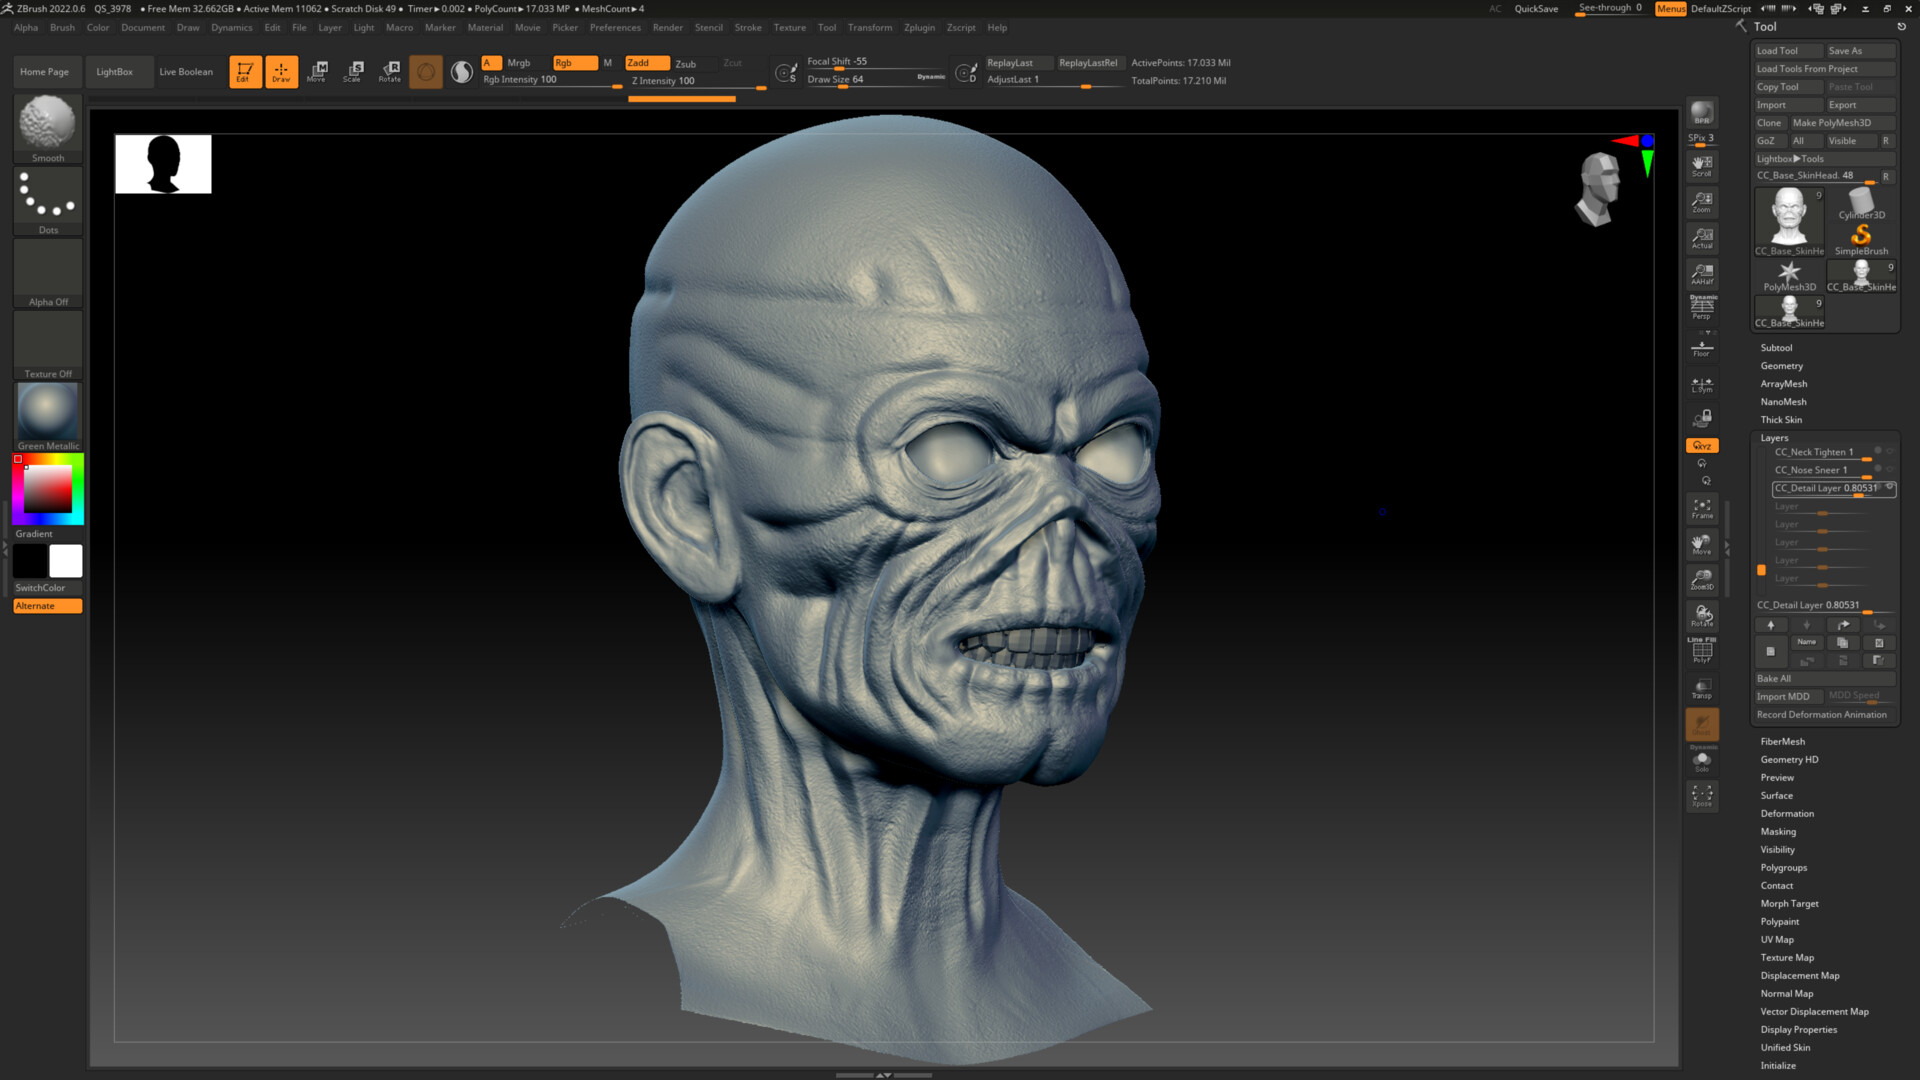 First pass on the head in ZBrush. In order to keep the rig working you need to respect the vertex order. It's a good thing the base mesh from Character Creator is very flexible.
First setup in CC4, the outfit is a placeholder. (Nobody wants to see a naked Eddie ;))
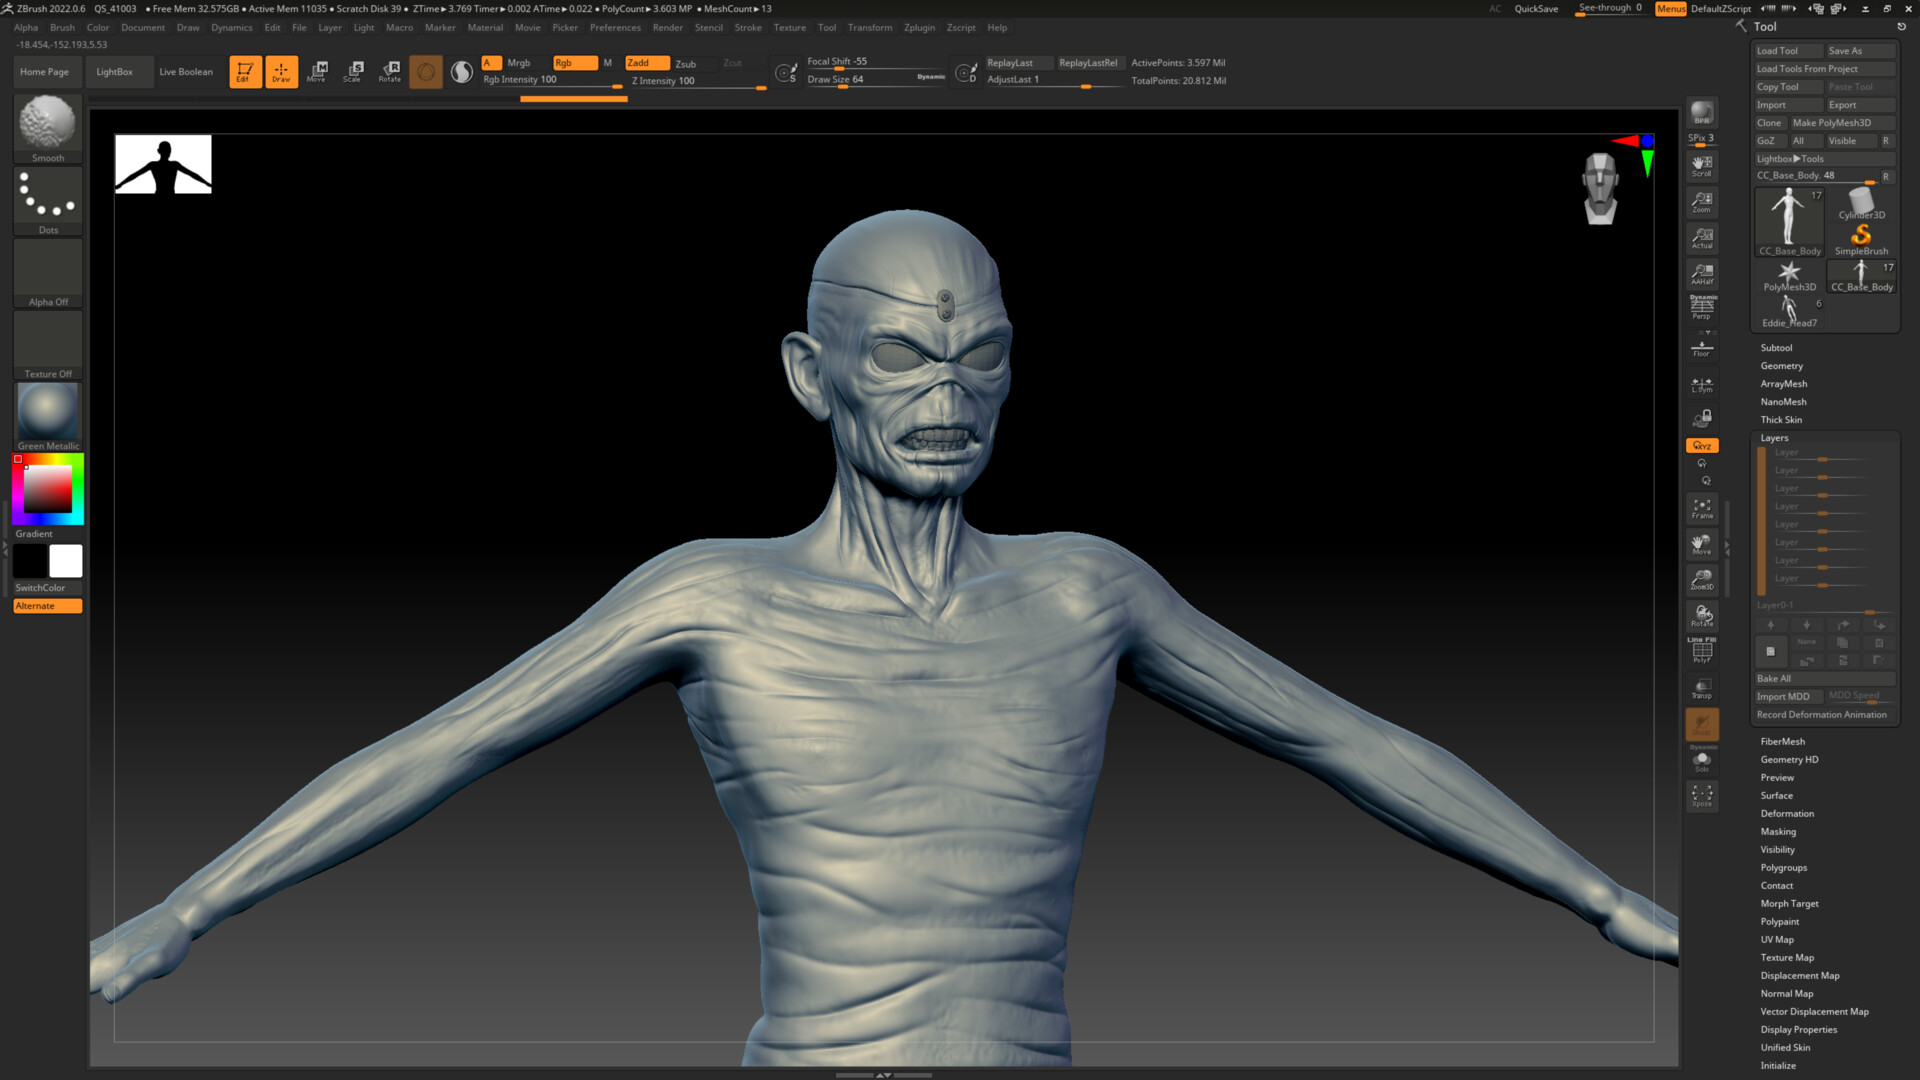 Detailing pass of the head and a first pass on the body in ZBrush.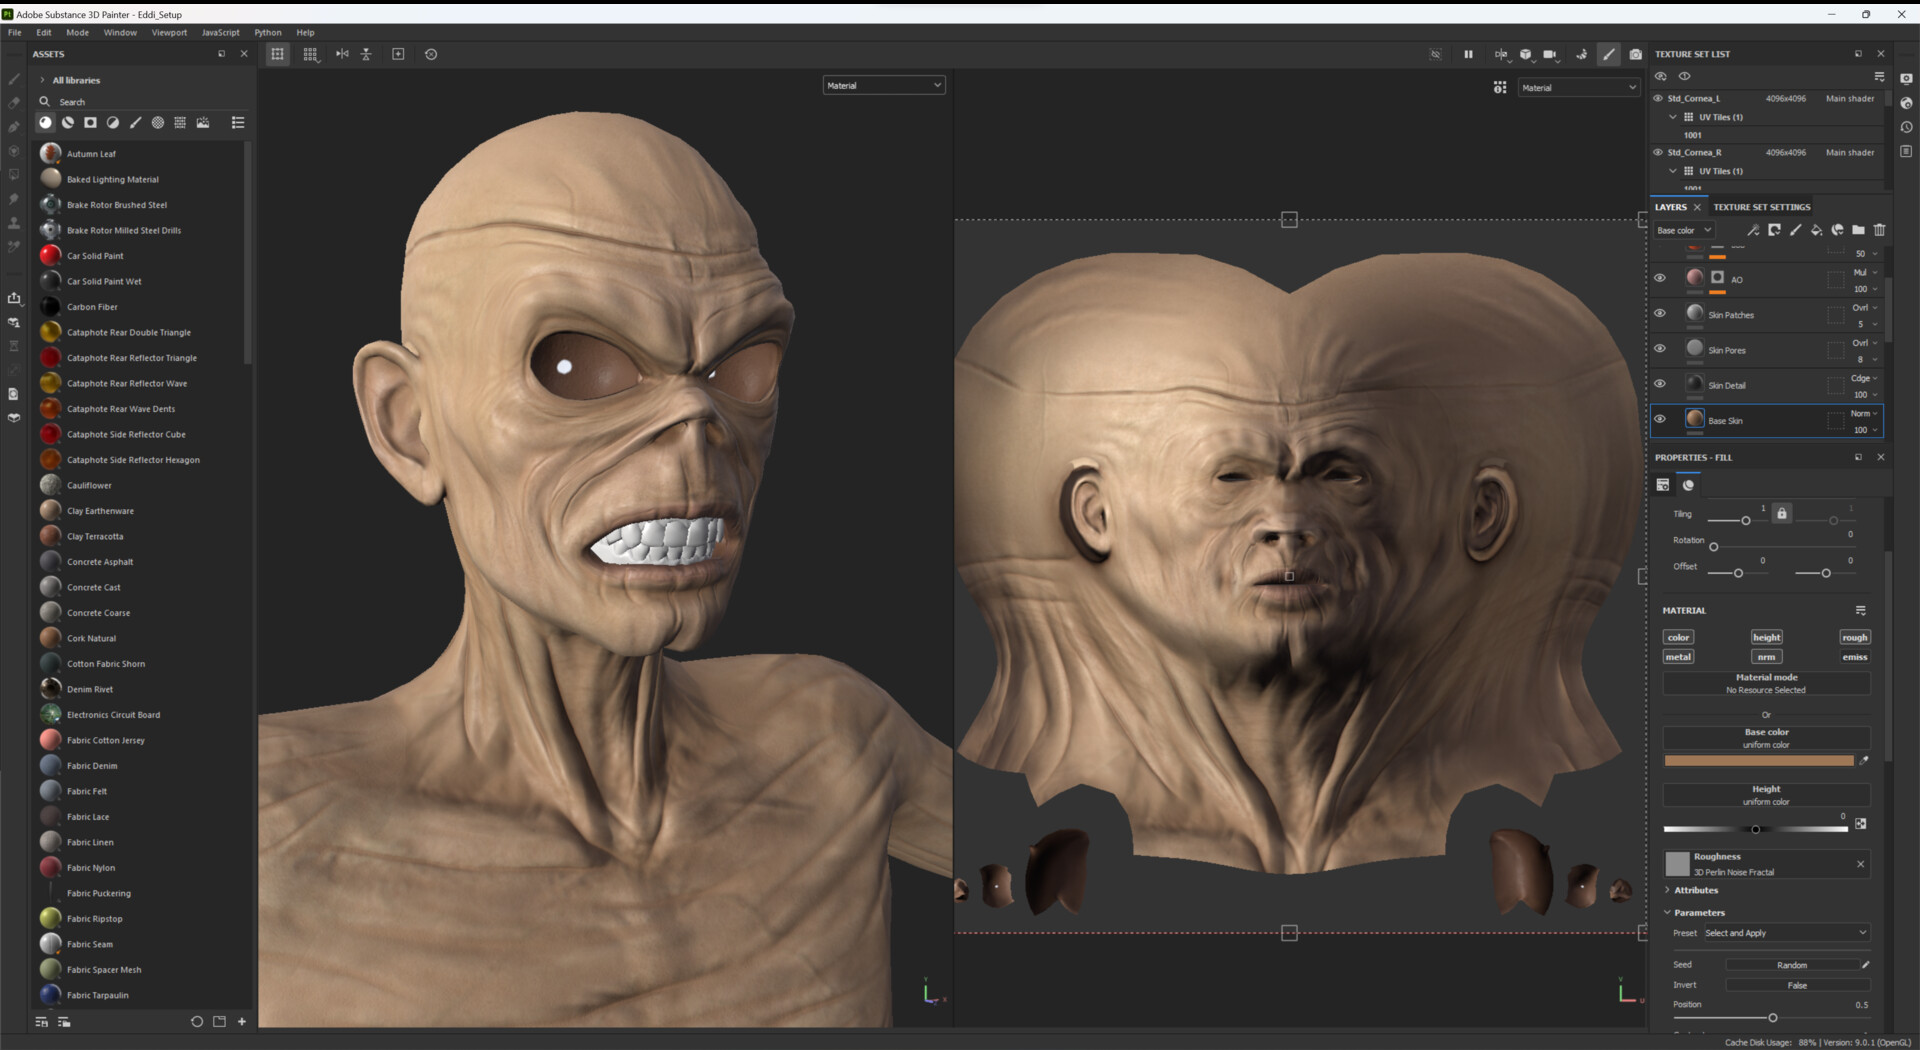

I really enjoy animating in Cascadeur and it gives me an excelent base for the animation in iClone. So I did a quick sequence and brought the result back to CC4.
A quick preview render from CC4.
This is where the project is at the moment. I am still thinking about where to end up for the final result, Unreal, Unity3D or Blender? I will see it when I get there.
Next on the to do list;
- Creating the outfit and props
- Final textures and materials on Eddie
- Setting up the scene and environment props
I will cover those things in a new post so stay tuned.
Thanks for reading!
Lynn Lewis part 2
Making Of / 25 April 2023
Here you can find the Behind The Scenes video of the Lynn Lewis Project in Unity3D.
Lynn Lewis, a personal project.
Making Of / 10 February 2023
Unity
Recently, I was able to allocate some time towards a personal project . Through my work with CC4 and iClone, I found that they provide a pipeline tool that eases character setup in Unity. My background in Unity goes back to 2010, and I have a constant desire to delve into real-time rendering. Hence, I saw this as a great chance to revisit this field. Unity has undergone a lot of changes, and as a graphics enthusiast, it was exciting to experiment with the HDRP render pipeline.
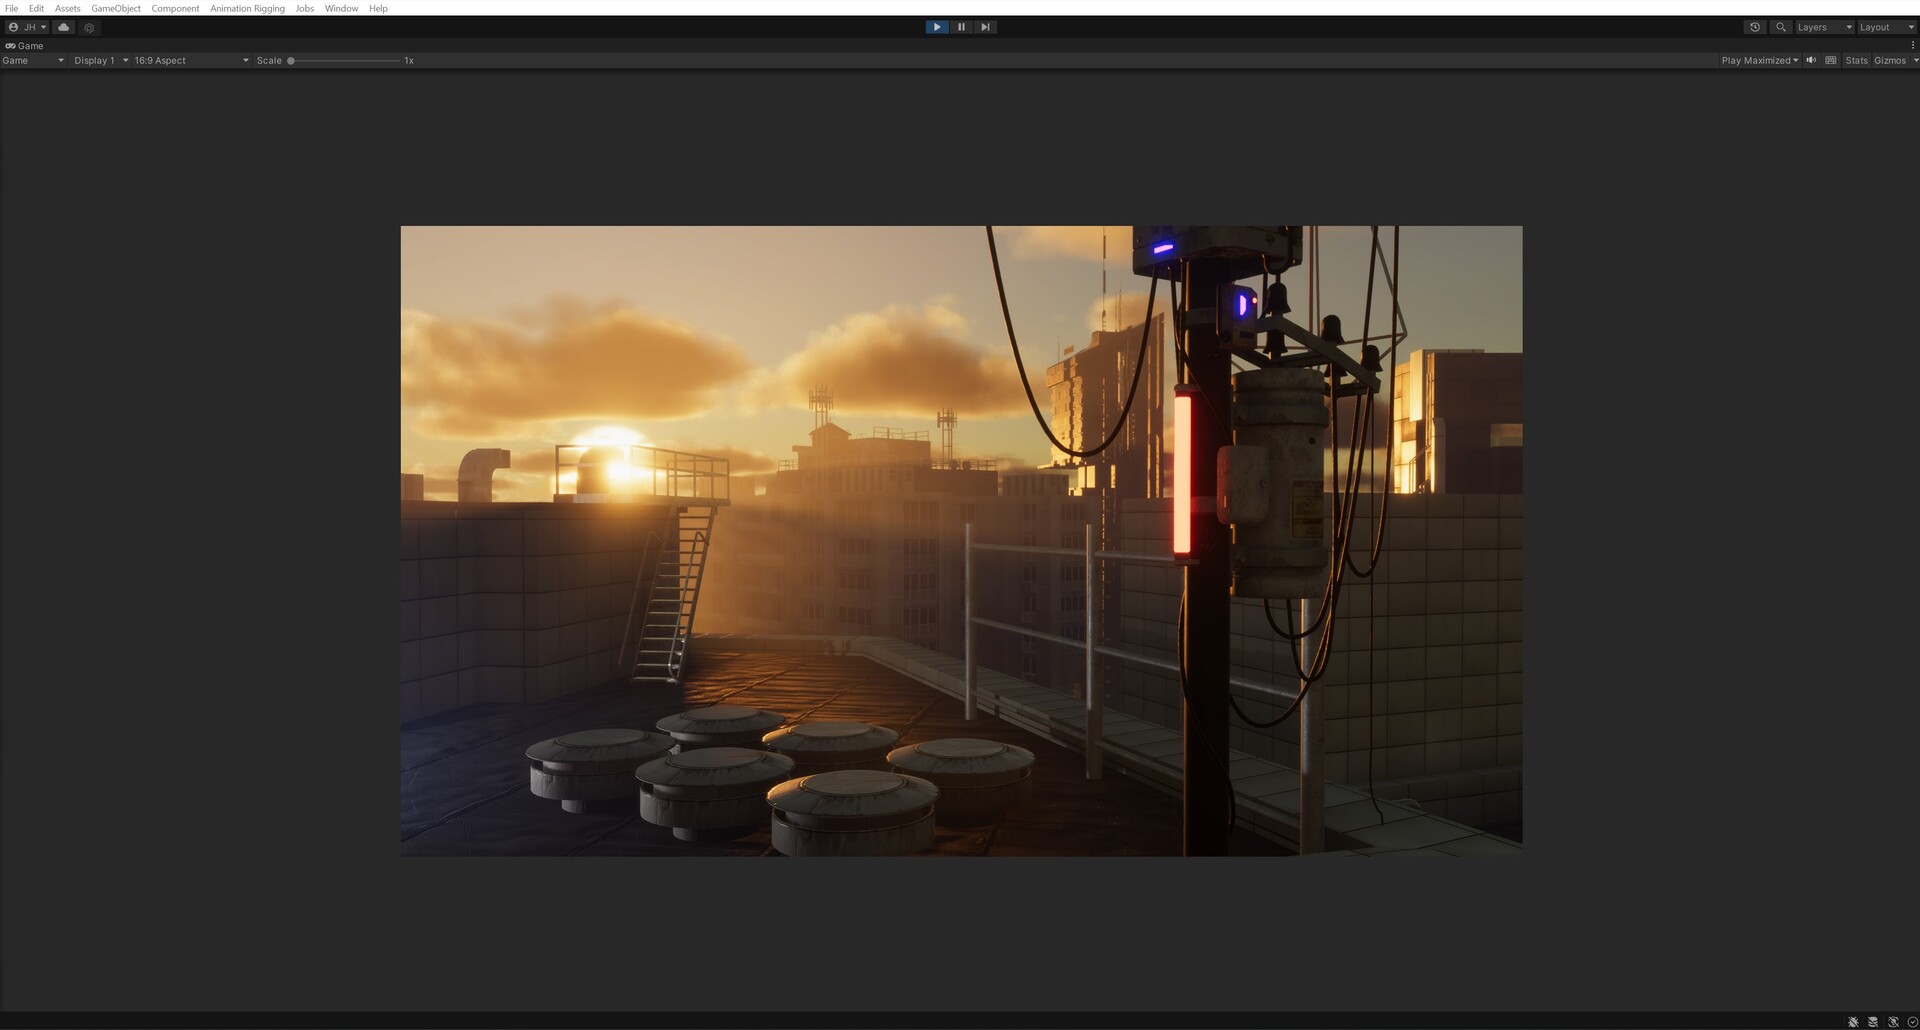
For this particular scene, I experimented with some of the high-quality, free models from Kitbash3d. I was pleasantly surprised by the outcome that was achieved in the game engine. I also spent some time refining the character import process from Reallusion to Unity and produced a quick video clip to showcase the results. For this scene I've played around with some of the free quality models from Kitbash3d. I was pretty stoked with the result what you could achieve in the game engine. I tinkerd some more with the character import in from reallusion to Unity and rendered this quick clip.
Character Creation
Lynn Lewis is a highly skilled female spy and burglar. She is known for her cunning abilities, quick thinking, and attention to detail. With her expertise in stealth and espionage, Lynn is often called upon to carry out covert operations and gather sensitive information. Despite the danger that comes with her line of work, Lynn is fearless and always ready for a challenge. Whether she is infiltrating a heavily guarded facility or making a daring escape, she is always up for the task.
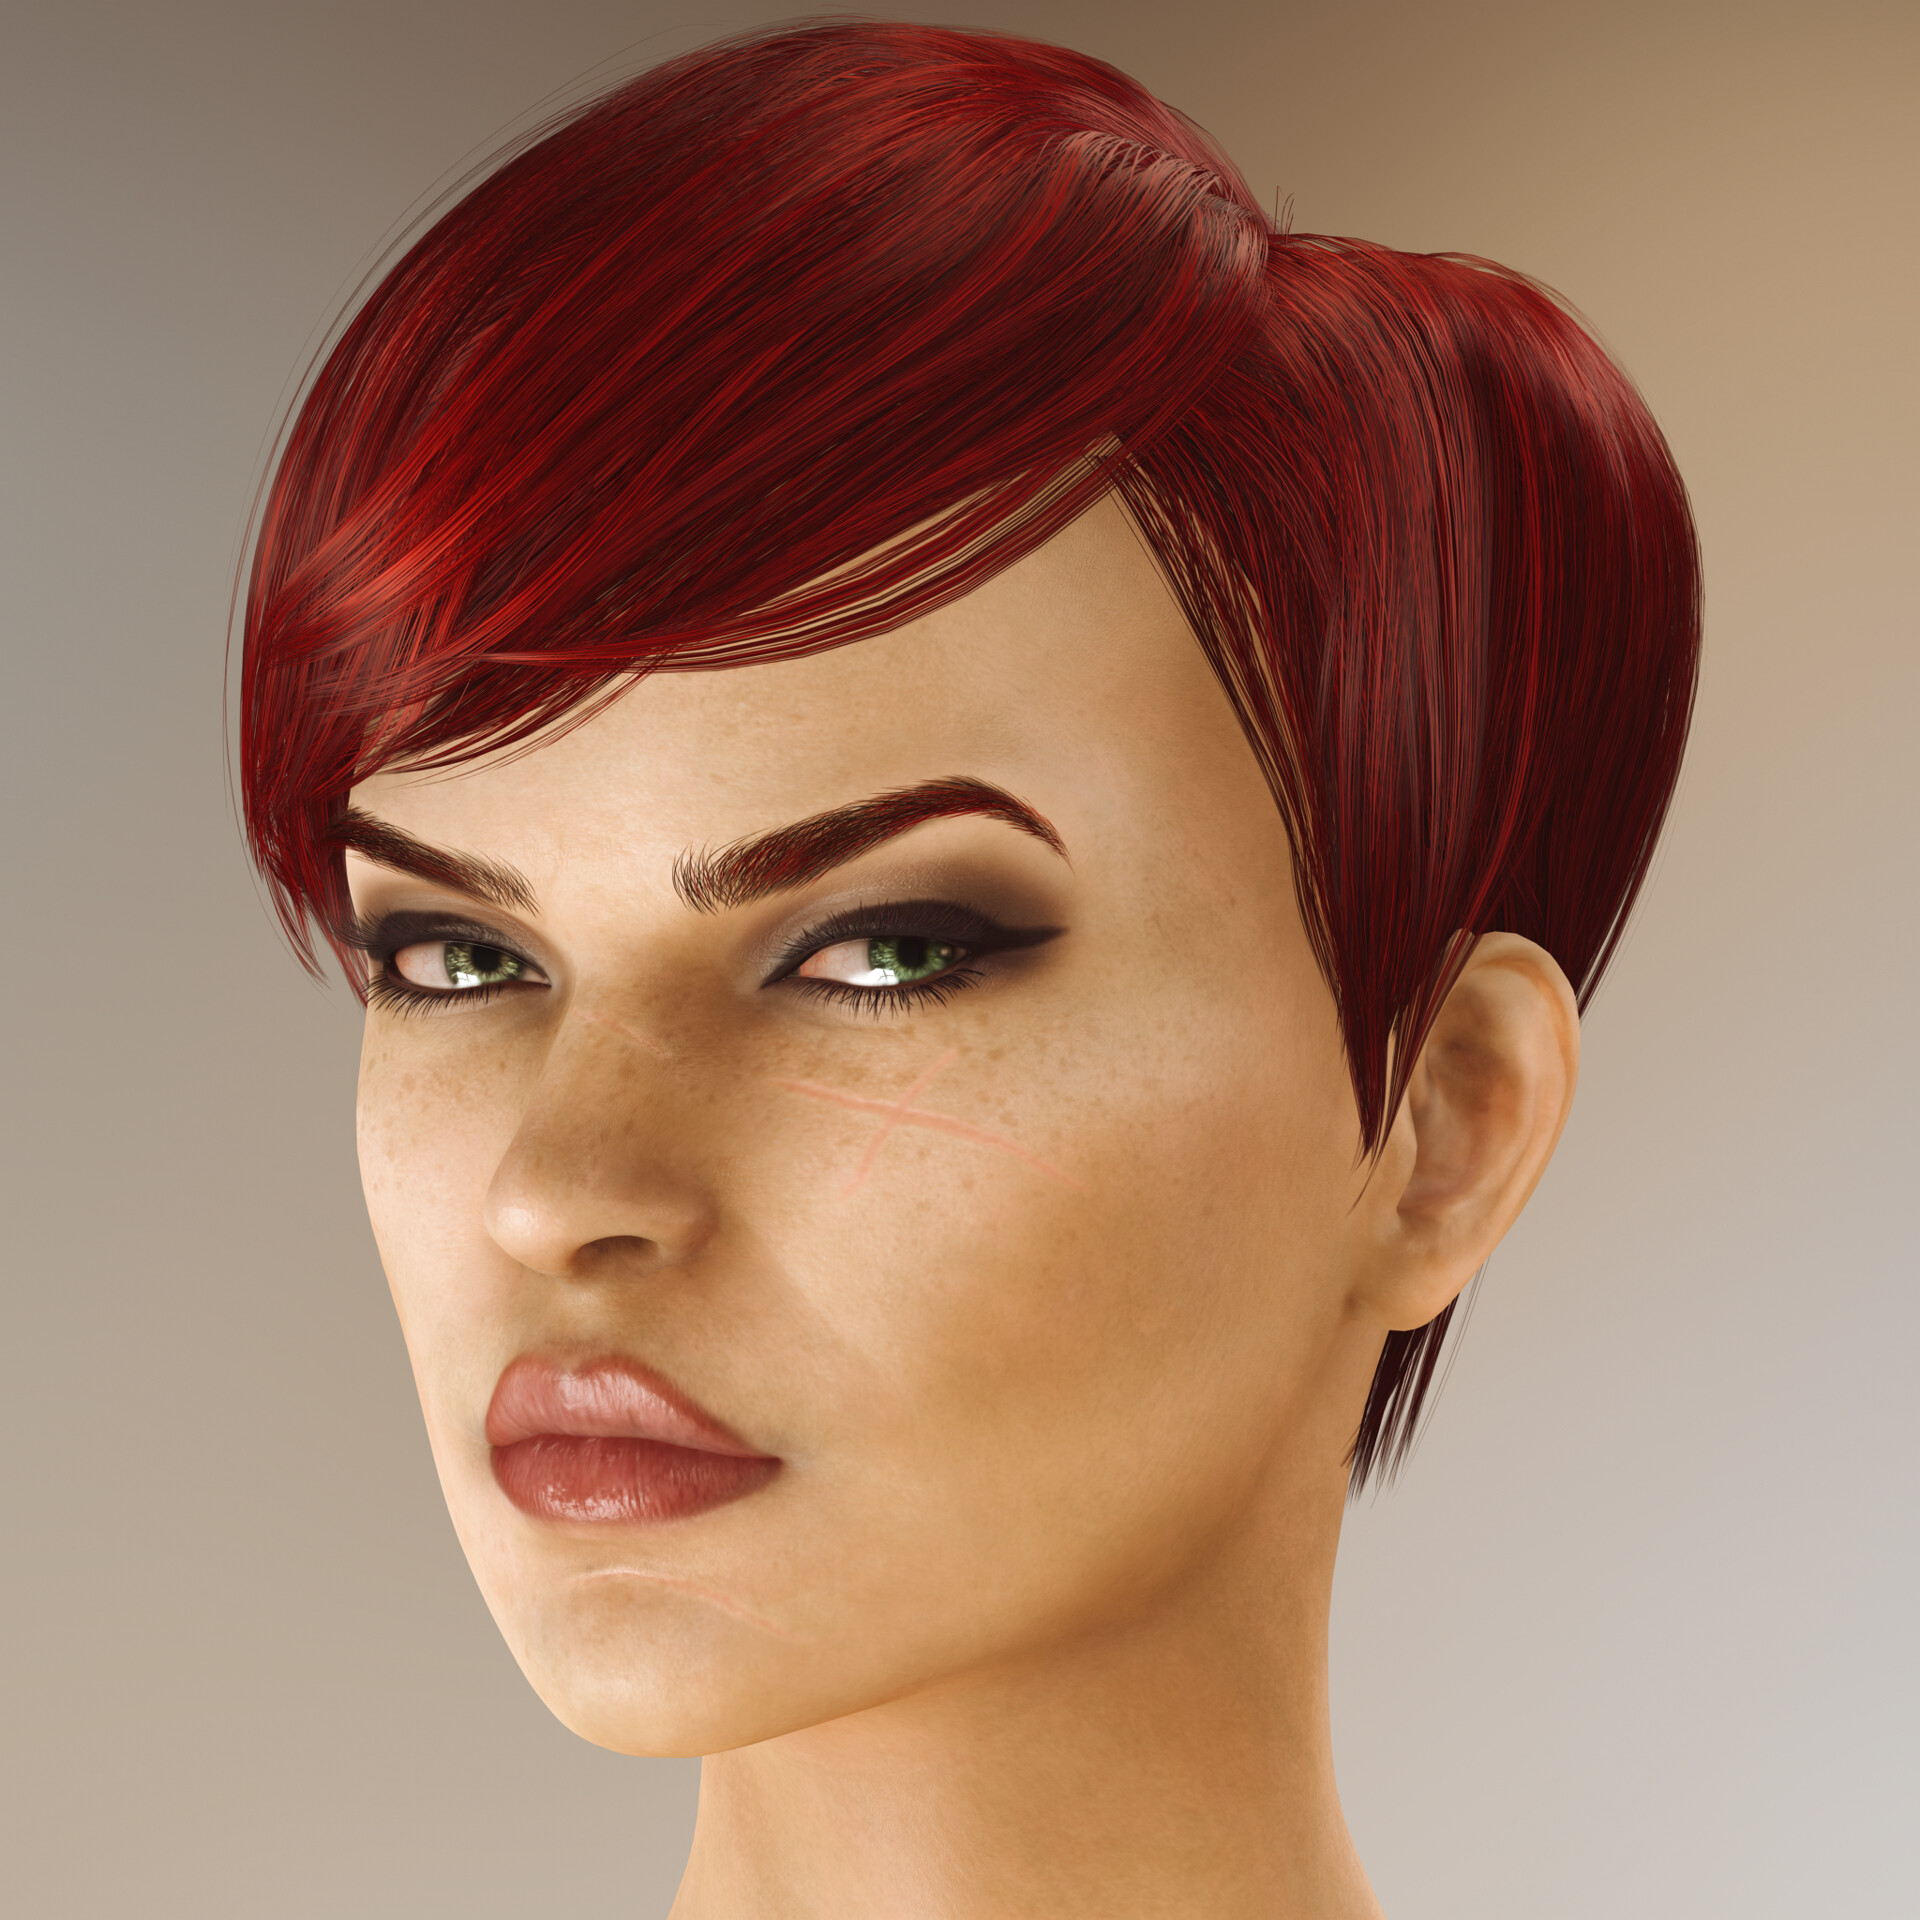
The wonderful CC extended facial rig in action
Using the built-in animations in CC4 allows for a thorough evaluation of the character design. It allows you to check the positioning of the teeth and tongue, as well as the alignment of all elements of the eyes, making it a valuable tool in the design process.
I won't go into too much detail about the character creation, but I am very pleased with the result. I recently had the chance to immerse myself in Marvelous Designer during a commercial project. Although I am unable to share that project at this time, I still wanted to incorporate my newfound knowledge and skills into this personal project.
For the design of the suit, I drew inspiration from the animated spy series, Archer. Although I still need to finalize the design, the concept is well on its way and closely resembles the direction it needs to go. 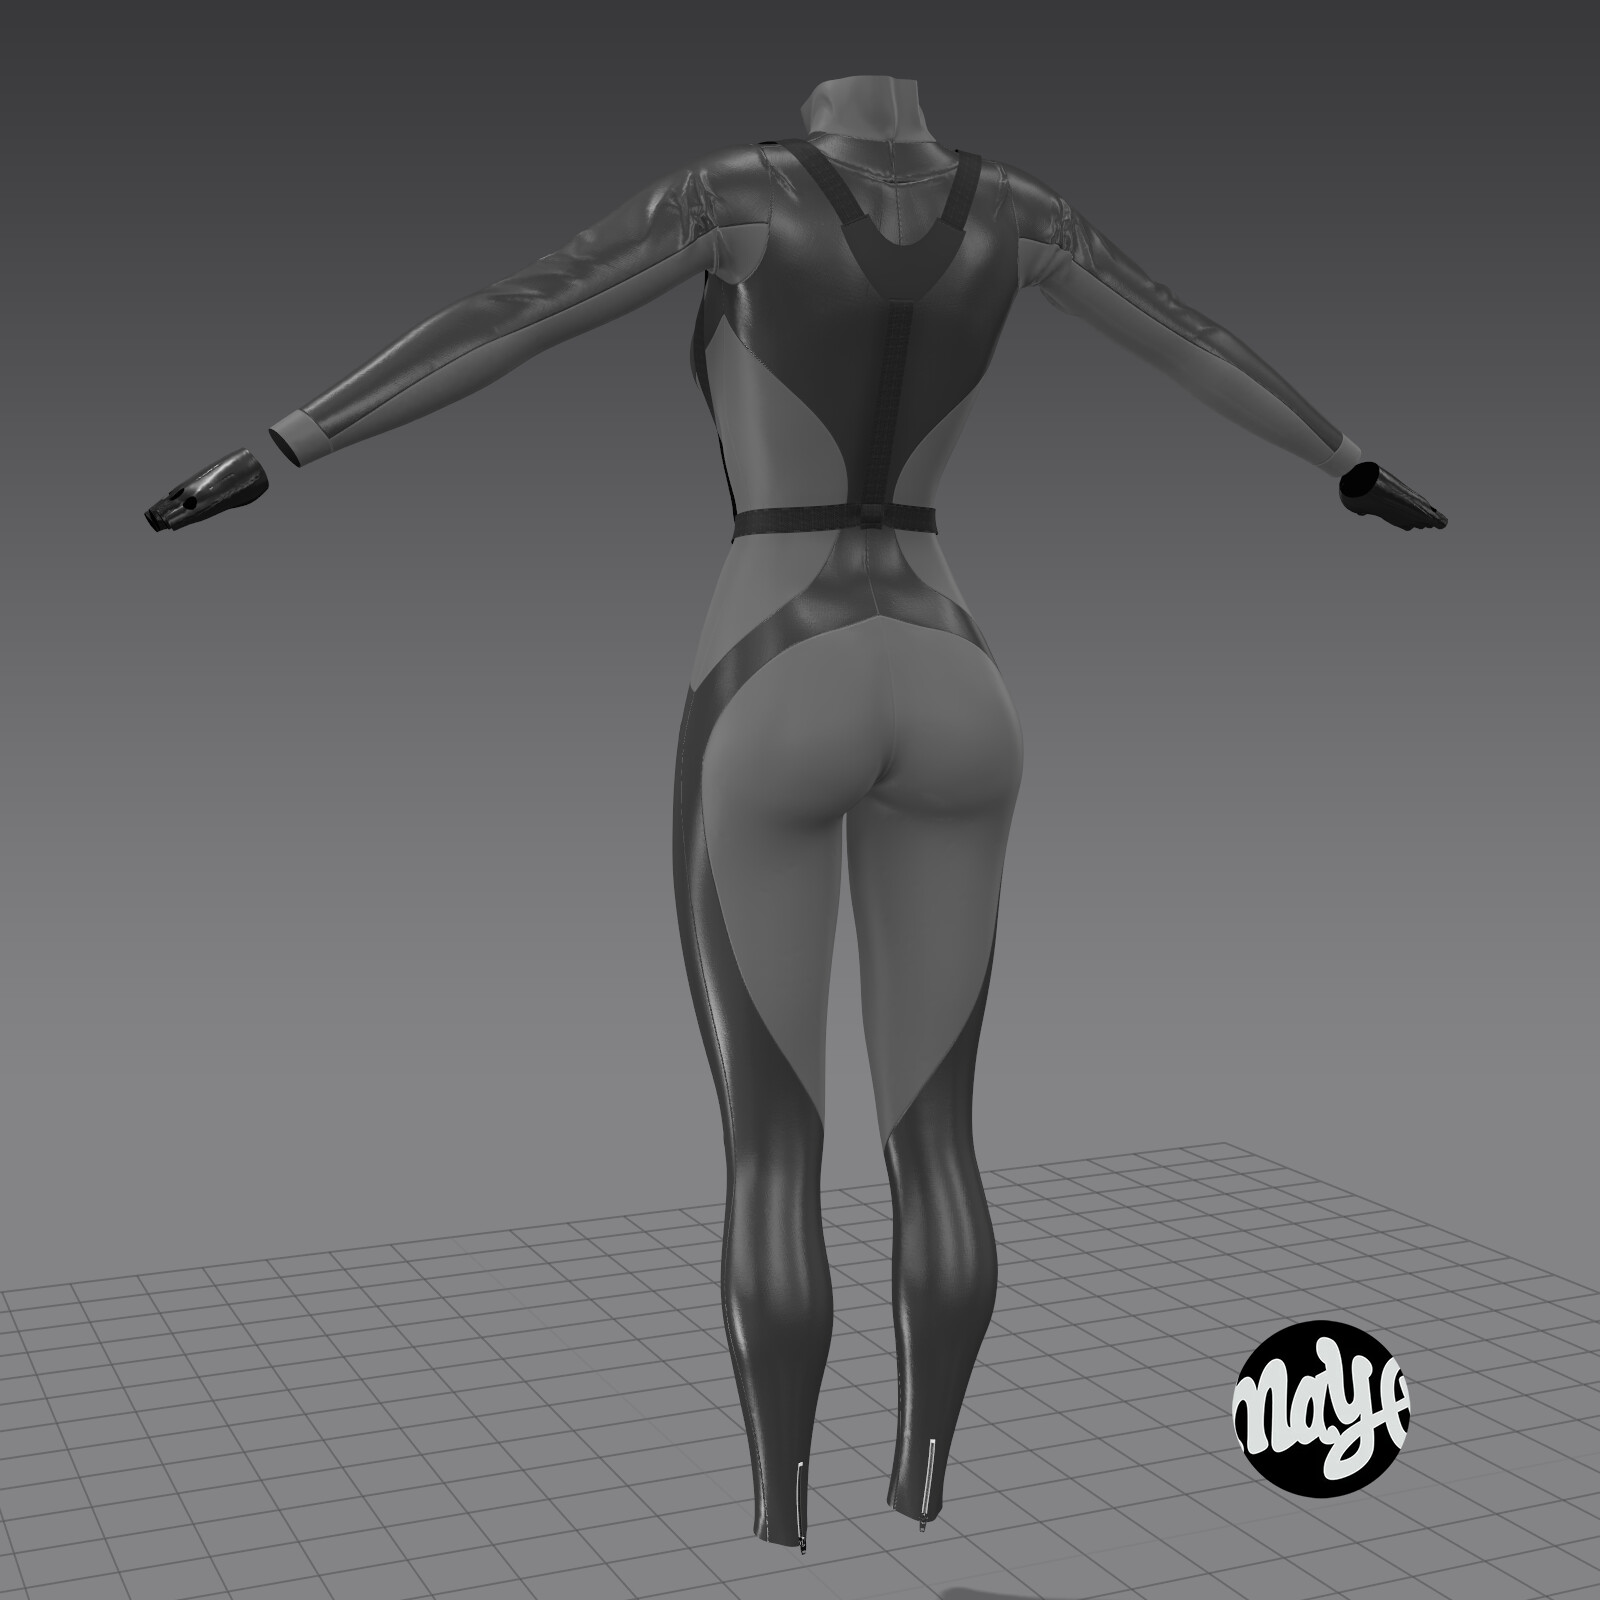
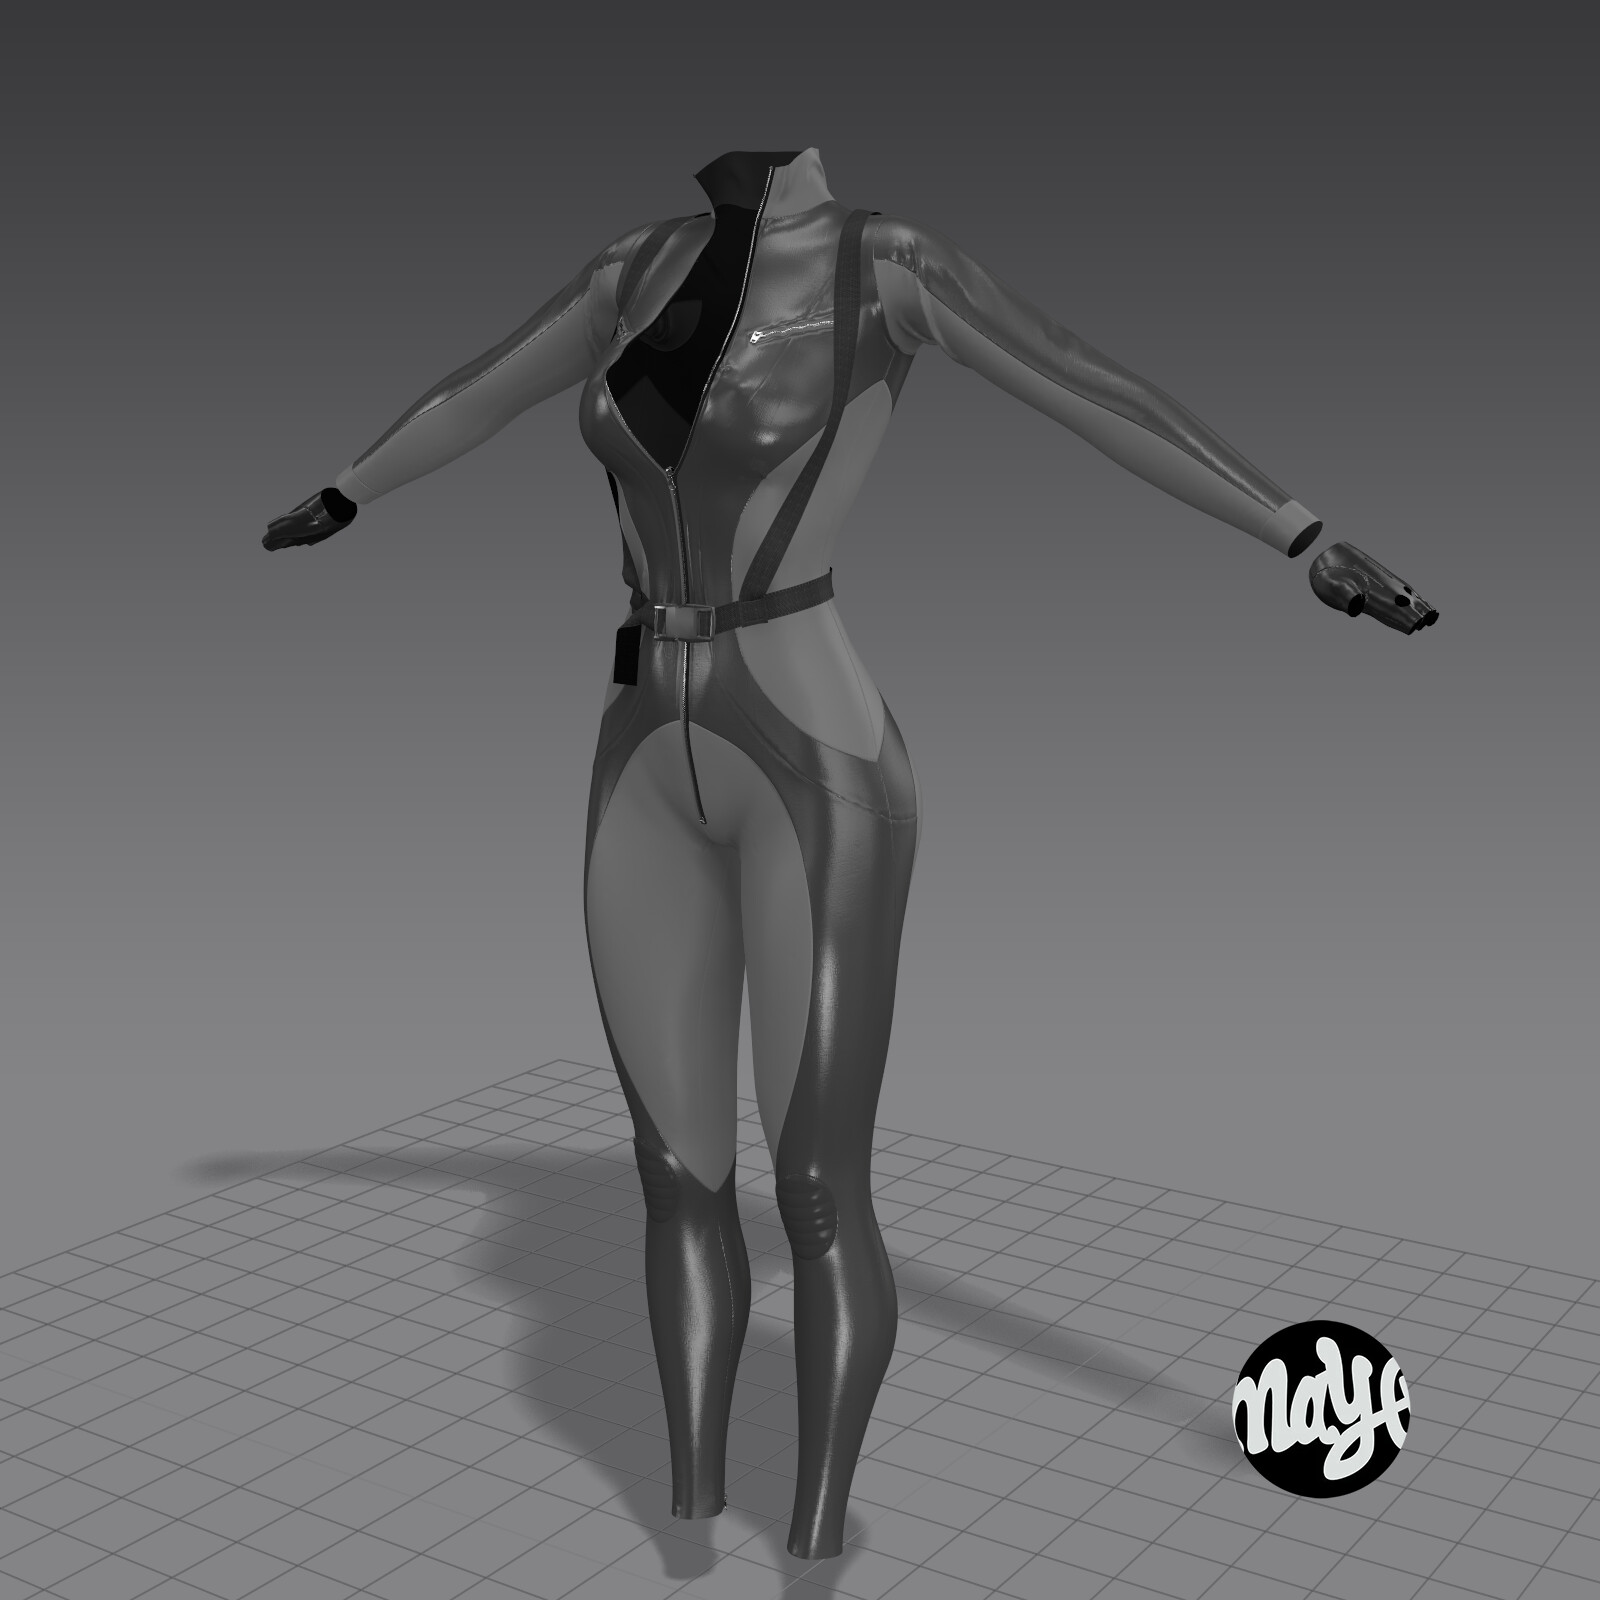
For character animation, I wanted to explore the use of Cascadeur in combination with iClone in my pipeline. What sets Cascadeur apart is its ability to calculate the balance of the character based on the animation, resulting in a highly natural movement. I was thrilled to find that I could easily drag and drop the exported FBX onto the character in iClone, with no complications, making the process incredibly seamless and efficient.
In iClone, I was able to further enhance the animation by refining facial expressions and hand movements, and by setting up constraints and blocking out the camera animation. This allowed me to bring even more life to the character and create a more immersive experience for the viewer.
I had the intention of creating a compact chase scene on a rooftop. At first, I thought I could leave out the entity the character is fleeing from, but later I decided that it would be cool to include a drone as the aggressor. Realizing that building a drone model from scratch would be a significant undertaking, I searched Sketchfab for a suitable model and ultimately chose one that fit my needs;
Currently, I am in the process of refining the model by cleaning it up and making design modifications to suit my preferences. My plan is to texture it using Substance Designer, but first I need to give it a proper UV layout using RizomUV.

Thank you for taking the time to read my update on this project. This concludes the first part of the project, and I will keep you posted on any further developments. Stay tuned for more updates!
2021 iClone Lip-Sync Animation Contest - (Do Right, Jessica Rabbit)
Making Of / 28 September 2021
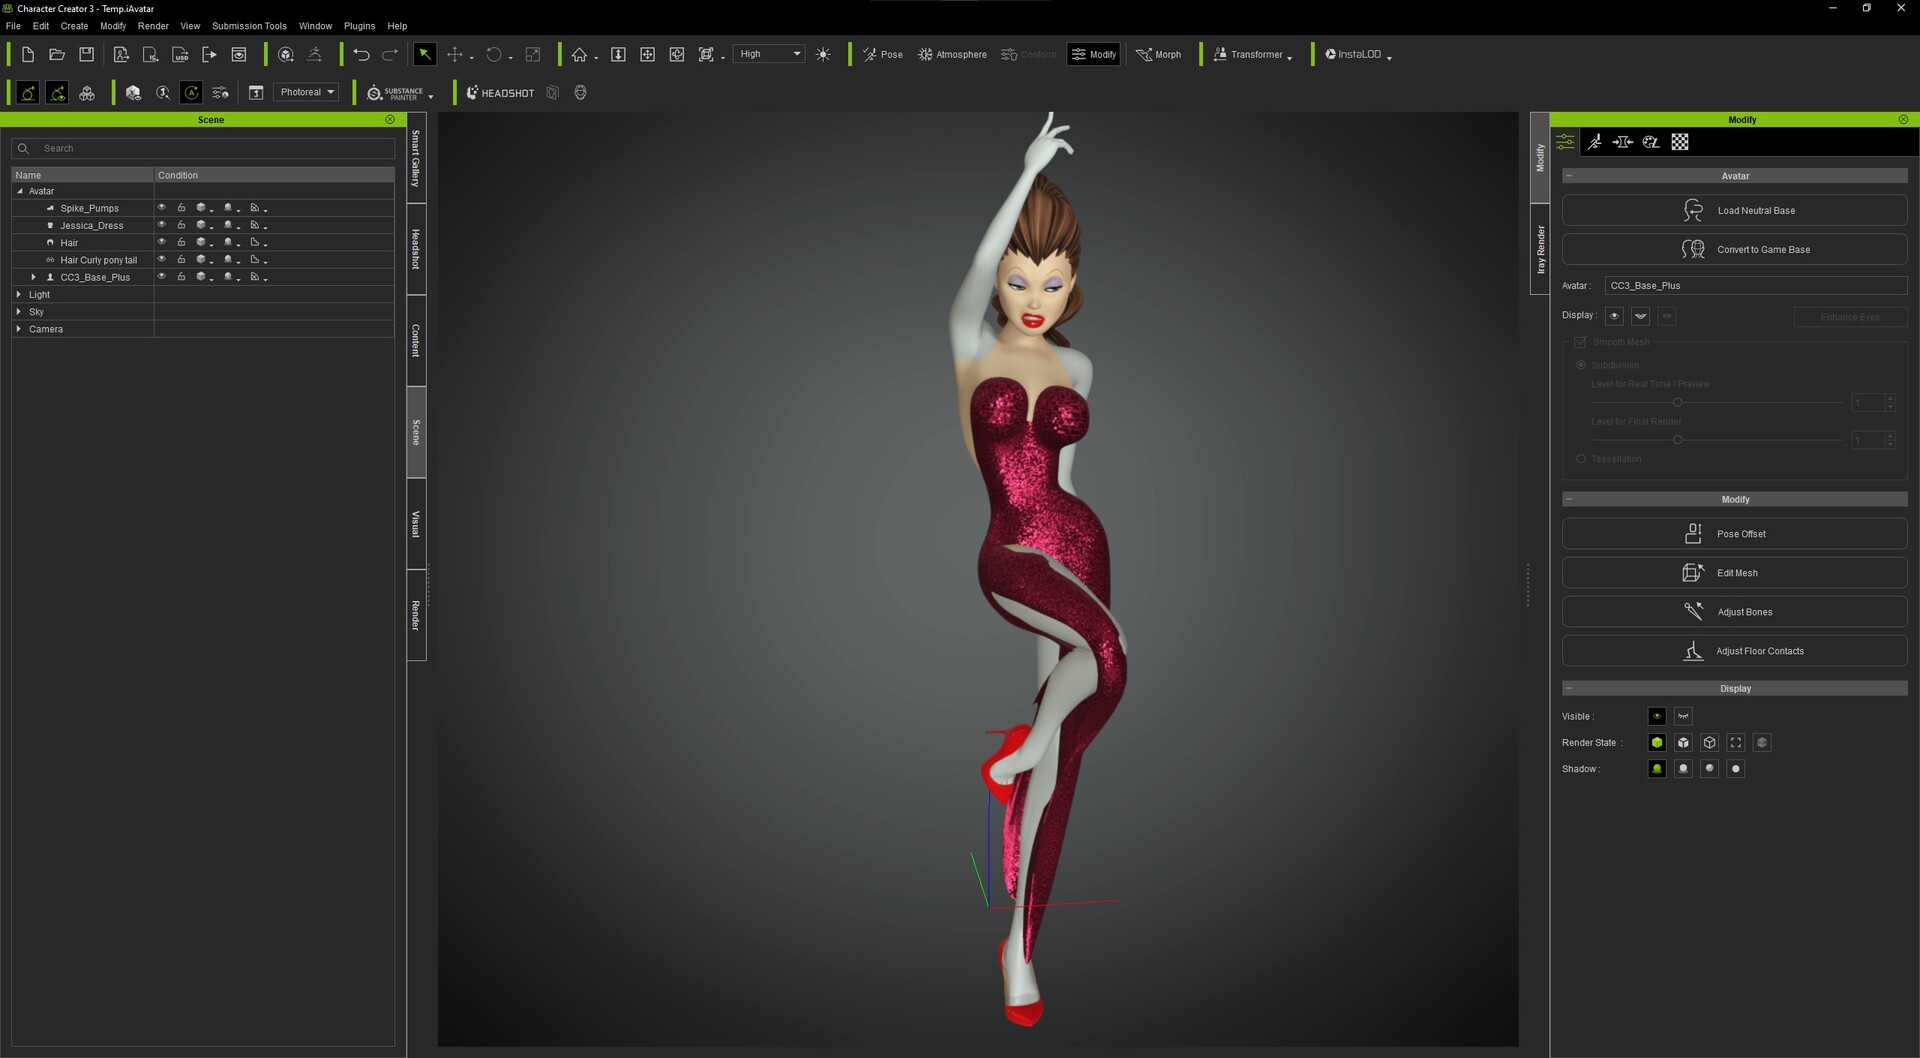
So I've changed quite a bit again. I really liked the lighting on the last one so that one is there to stay but will get back in there in a later stage. I started the last hair on 05_Wavy Bob Hair. This is available with the toon But it proved hard to get it right and the mesh is triangulated which made it even more difficult to adjust. This hairmodel comes with the toon figures from Reallusion.
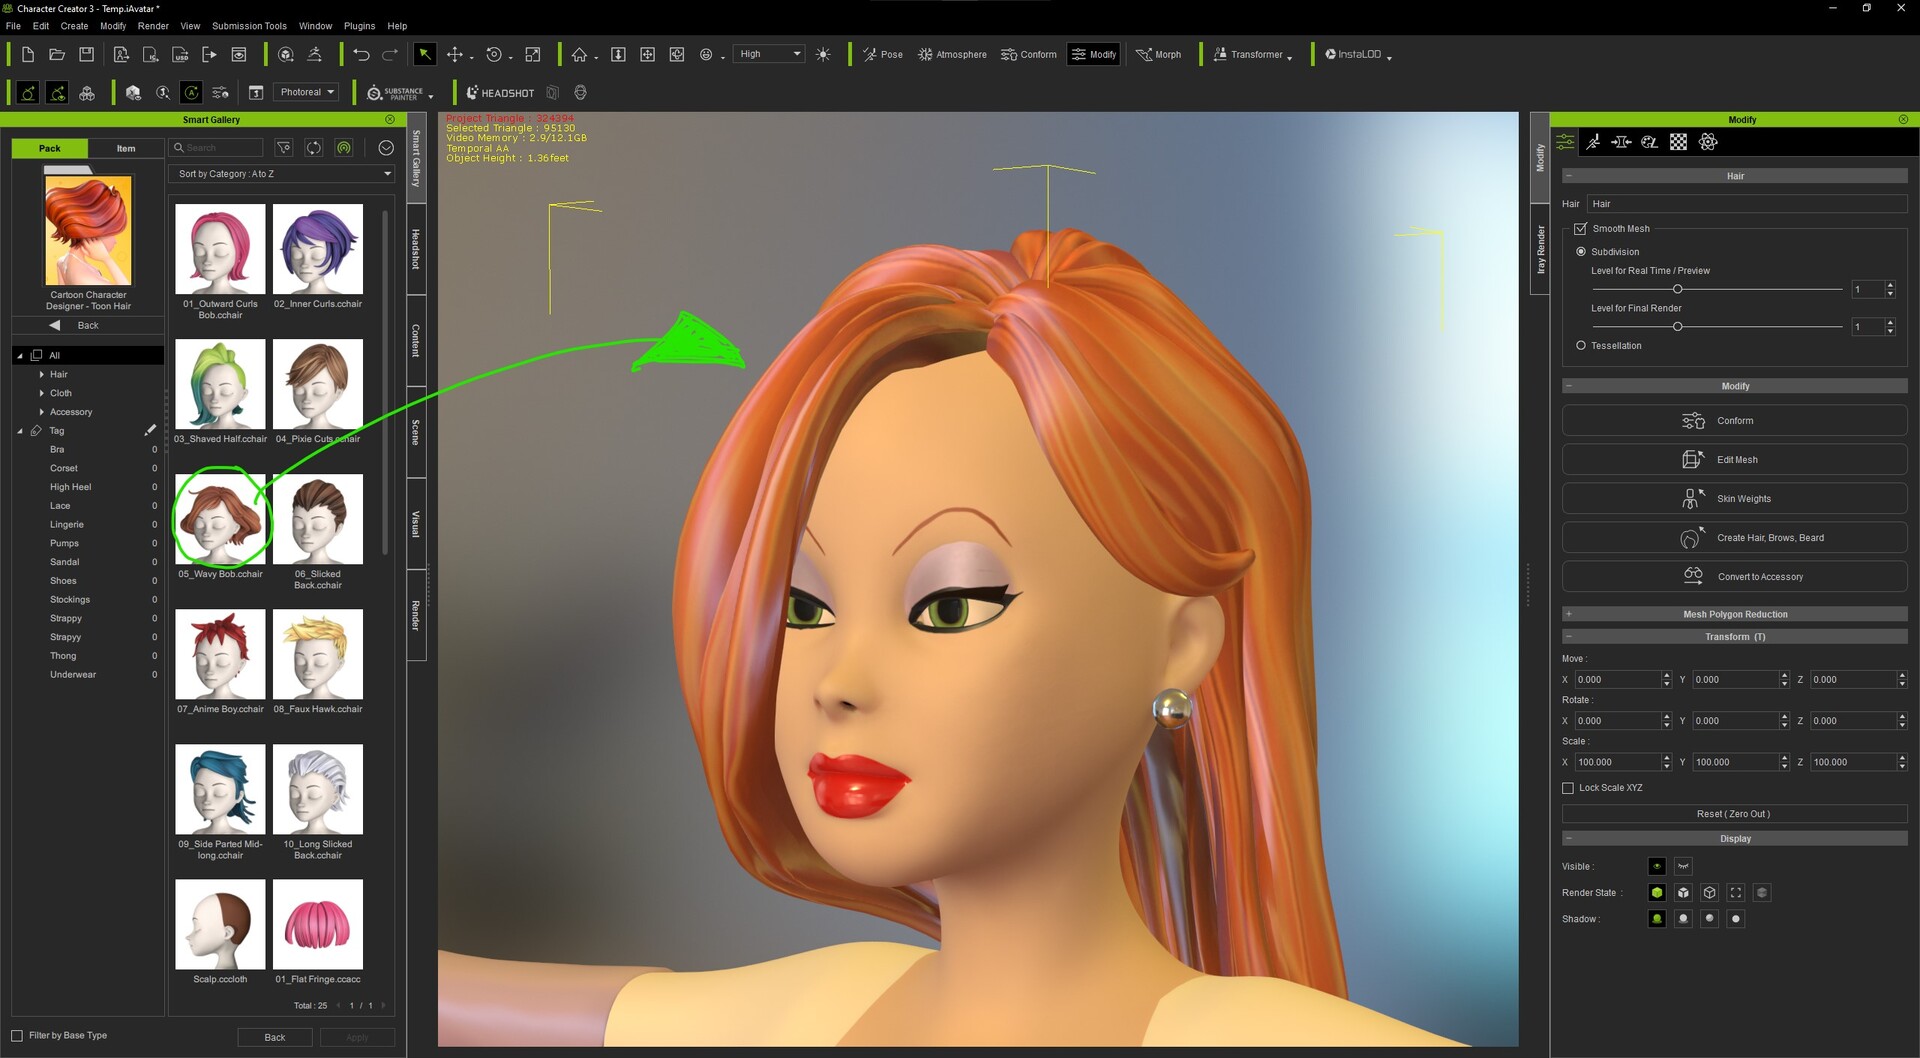
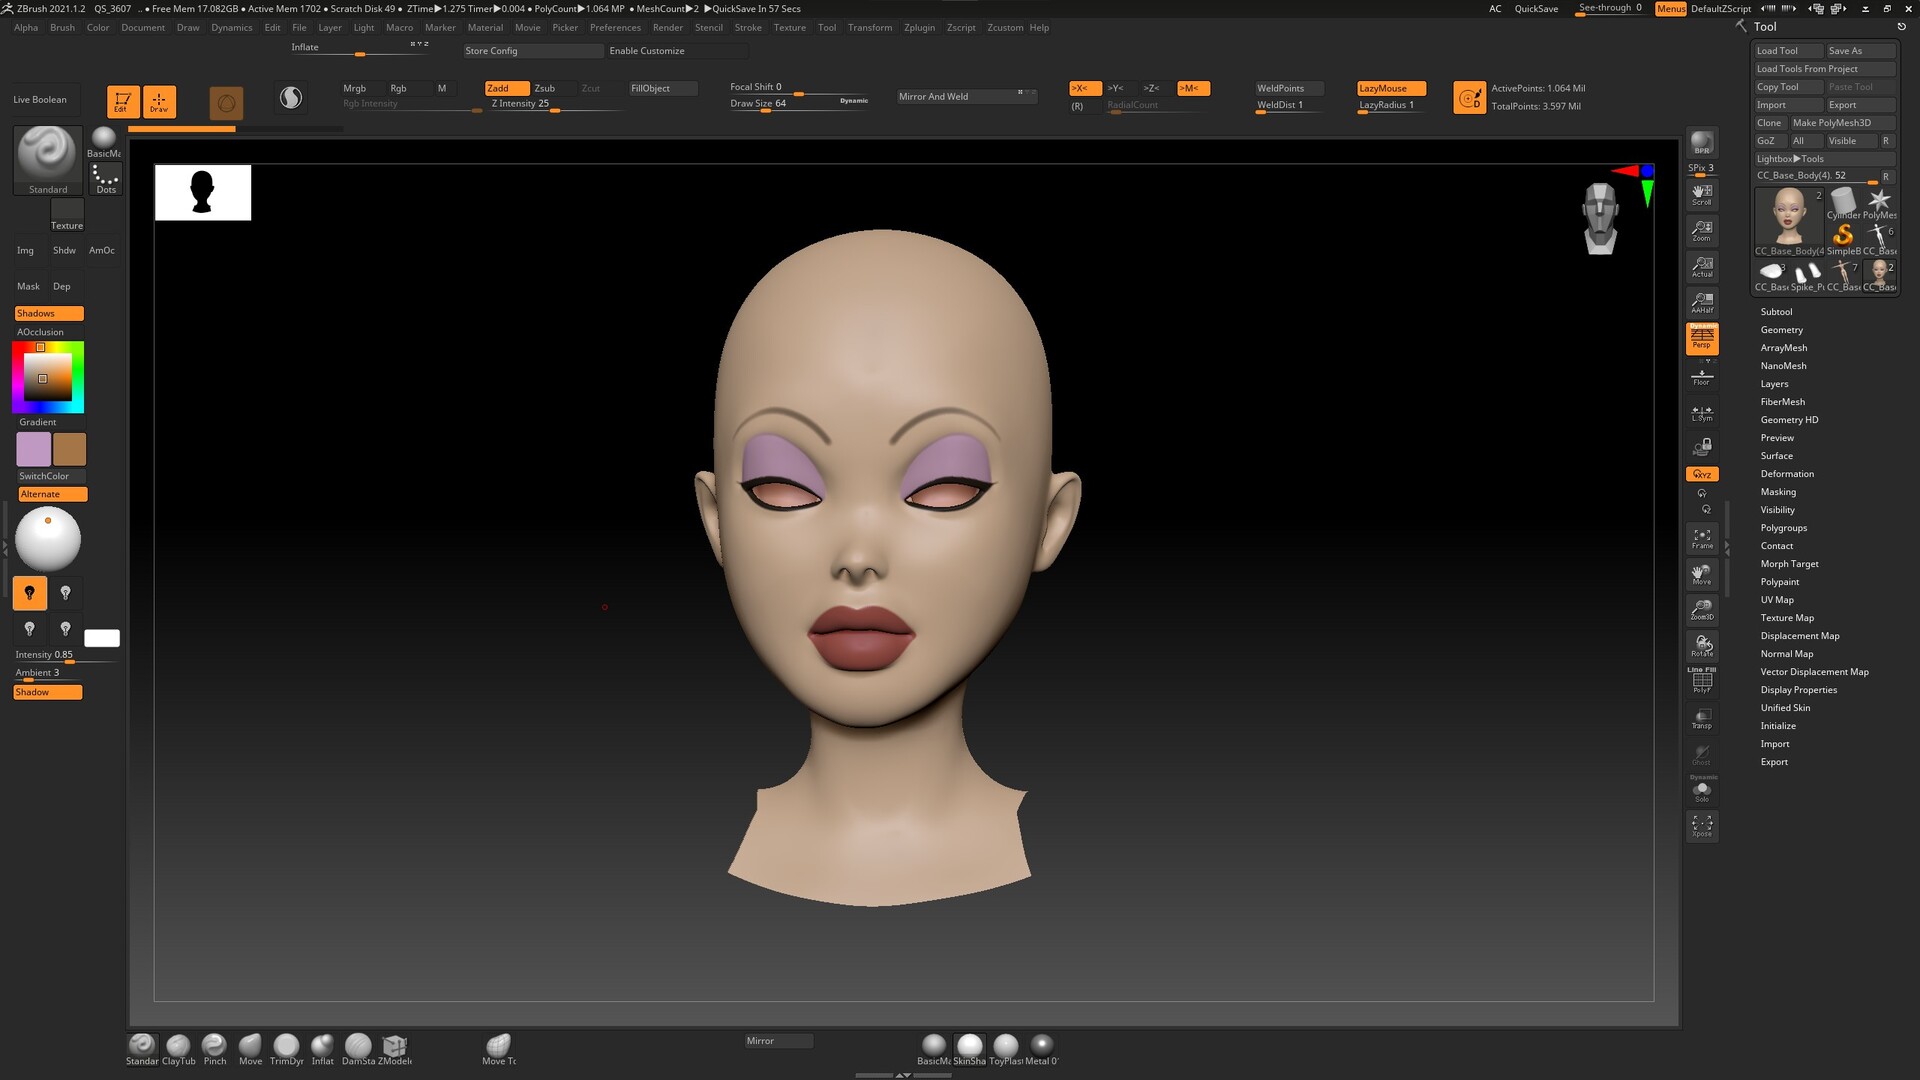
The hair still bothered me so I went back in to ZBrush.

Hair is quite difficult but I finally came up with a nice hairdo which is in line with Jessica's original design.
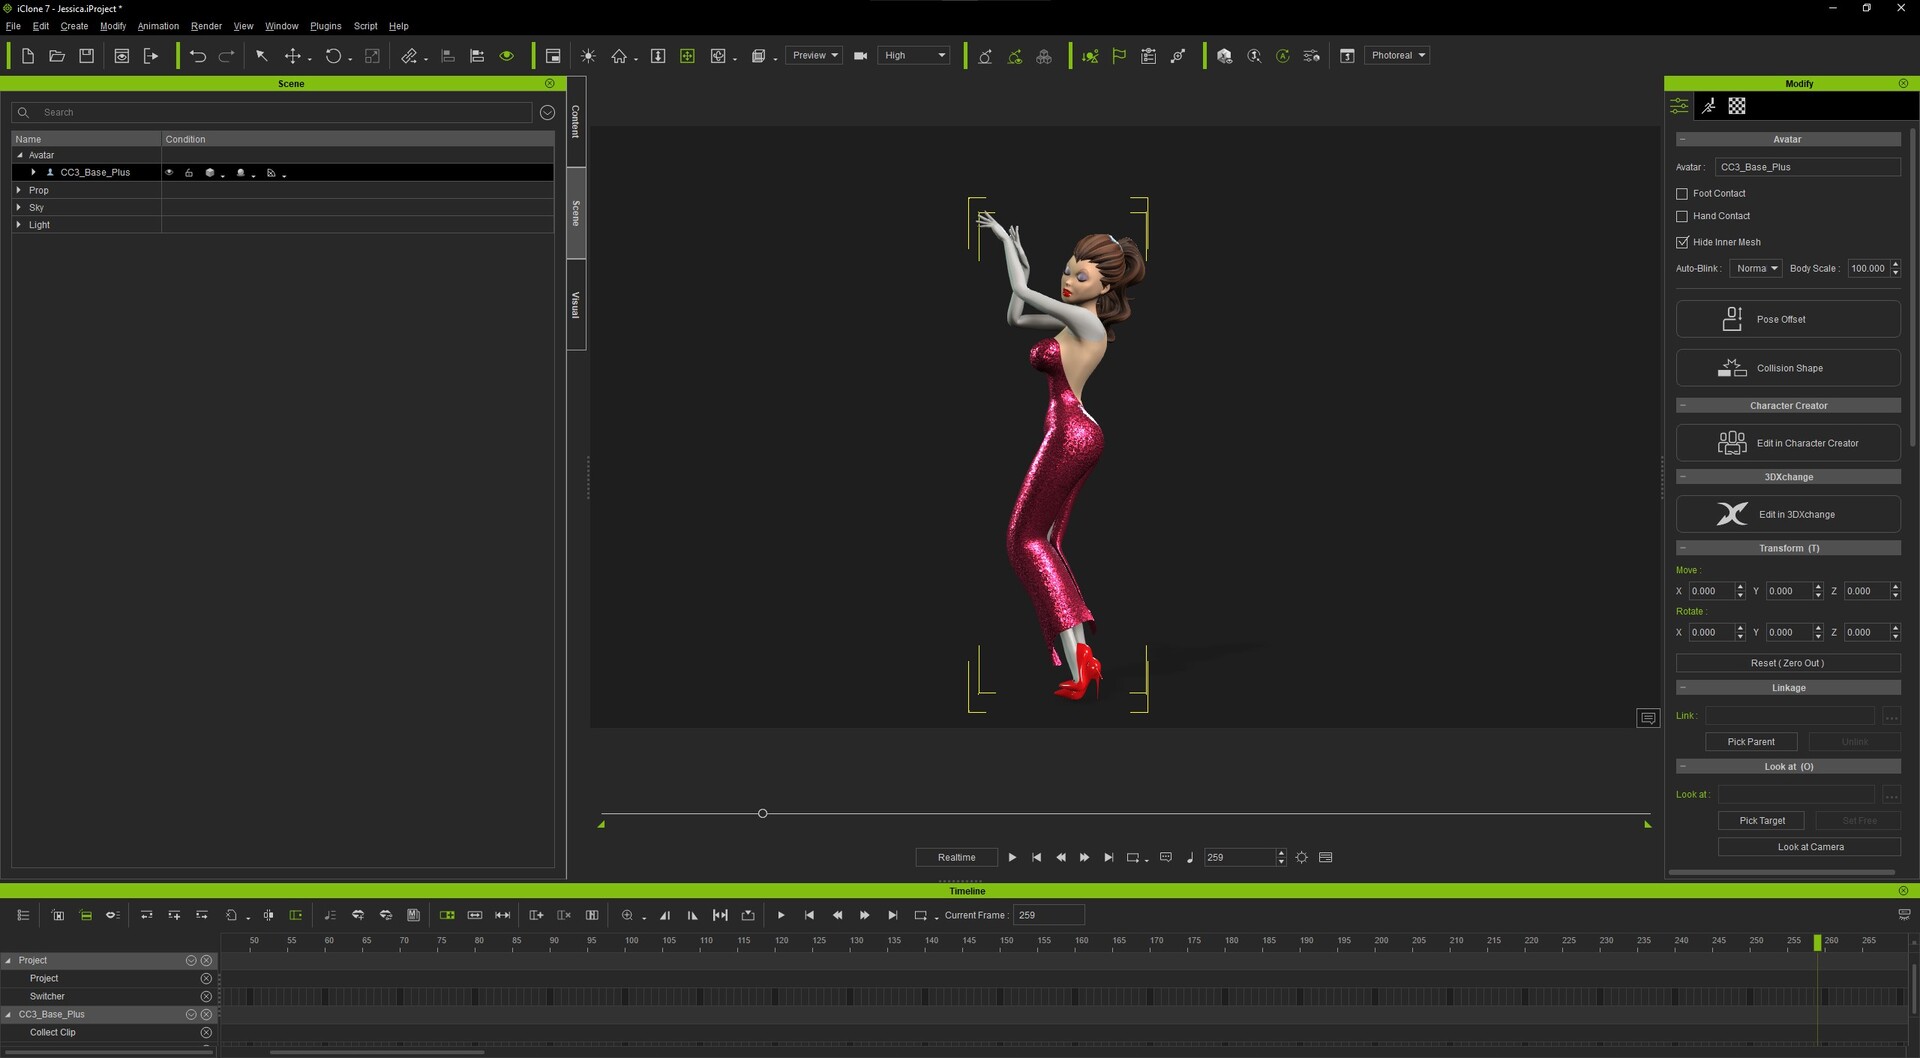
Here are some iteration of the animation and lip synch. Will add some camera editing as well but for the sake of the lip-synch I did it like this for now.
First and automatic.
Refine pass 1
Refine pass 2
I noticed that it is hard work the accu lips on mixed down audio with a lot of noise in it and because it is singing I had to time a lot by hand.
2021 iClone Lip-Sync Animation Contest - (Do Right, Jessica Rabbit)
Making Of / 24 September 2021
It still needs a lot of refinement but I like where it is going. Sorry about the low audio but hey it is a wip.
2021 iClone Lip-Sync Animation Contest - (Do Right, Jessica Rabbit)
Making Of / 14 September 2021
I've decided to join in iClone Lip-Sync Contest and create something fun. The goal is create a Lip Sync animation scene based on a favourite scene. "Who framed Roger Rabbit" is one of my favorite movies and this film holds up even today and I wanted to create a bit of the nightclub scene.
It is still very rough and in the early stages but it's getting there. The hair is a place holder and I need to refine the model and do the tedious weight-painting on the dress.